The bass drum head is the first thing many see at a show, and the last thing a band looks at before walking onstage. That makes a custom front head more than a surface to cover an opening, it becomes part of the band’s visual identity, the camera frame, and the first impression from ten feet away. For a gigging drummer, that’s usually the moment the question gets real, what should go on it, how should it be built, and is the custom route worth the trouble?
Custom kick drum skins sit right in that decision. They can be a printed resonant head, a batter-side graphic, or an adhesive overlay depending on the setup, and the choice affects both appearance and how the drum works in the room. The practical answer is usually not “make it flashy,” it’s “make it fit the kit, the brand, and the way the drum gets used.”
Why the Front Head Matters More Than You Think
A drummer can spend an hour dialing in sticks, pedals, and tuning, then walk into a venue and find that the crowd still reads the kit from the front head first. That is why the bass drum face has become a branding surface on its own, especially for bands, churches, schools, and players who care about how the kit reads under lights and on camera.
The shift did not happen by accident. Synthetic drumhead materials replaced older head materials because they gave builders a stable, durable surface that could be produced consistently and sized for modern drum sets. That material base is what made printable, stage-ready front heads practical, and it is why the term drumhead now covers everything from playing heads to branded graphics.
Practical rule: if the audience sees the head before they hear the kick, the head is part of the show package.
For buyers, the decision is bigger than artwork. It is about whether the design supports the music, the stage look, and the way the head will be installed and used. A custom head can answer a brand question, a tour consistency question, and a replacement question at the same time, which is why people usually start by asking how to get one made, what belongs on it, and whether the upgrade is worth the spend.
Batter vs Resonant and Why It Changes Your Design
A drummer who asks for a custom kick drum skin usually means the face the crowd sees. That face is the resonant side, while the batter side is the head the beater strikes. The difference matters because each side has a different job, and the wrong choice can leave you with artwork on the wrong surface or a print that does not match how the drum is used.
That choice starts with purpose. If the goal is visibility from the room, from a camera, or from the back of a stage, the design belongs on the resonant head. If the goal is a playing surface with graphics, then the batter-side build has to be judged for feel, response, and how the artwork will hold up once sticks and pedals come into the picture.
Head construction changes the look as well as the feel. Single-ply heads are usually thinner and more common, and they tend to feel more open with a clearer, less controlled response. Double-ply heads are thicker, usually give a deeper and more controlled sound, and often bring a more defined attack with shorter sustain. A thinner head can make fine artwork read a little differently under stage light, while a thicker head often suits players who want a tighter visual surface paired with a punchier sound.
Side by side
- Resonant head: best when the design needs to be seen from the room, the camera, or the back of a stage.
- Batter head: best when the custom finish is part of the playing surface and the drummer wants the image tied to the feel underfoot.
- Single-ply build: better when a player wants a lighter, more open response and a surface that suits detailed graphics.
- Double-ply build: better when control, shorter sustain, and a more locked-in kick sound matter more than an airy feel.
The practical check is simple. Confirm which head is being printed before the artwork is placed, because odd shells and nonstandard setups can change what counts as the front face. For a broader visual planning reference, the notes in Custom Bass Drum Head graphics guidance help frame the artwork around the right side of the drum before anyone sends a file to print.
Preparing Artwork That Actually Prints Clean
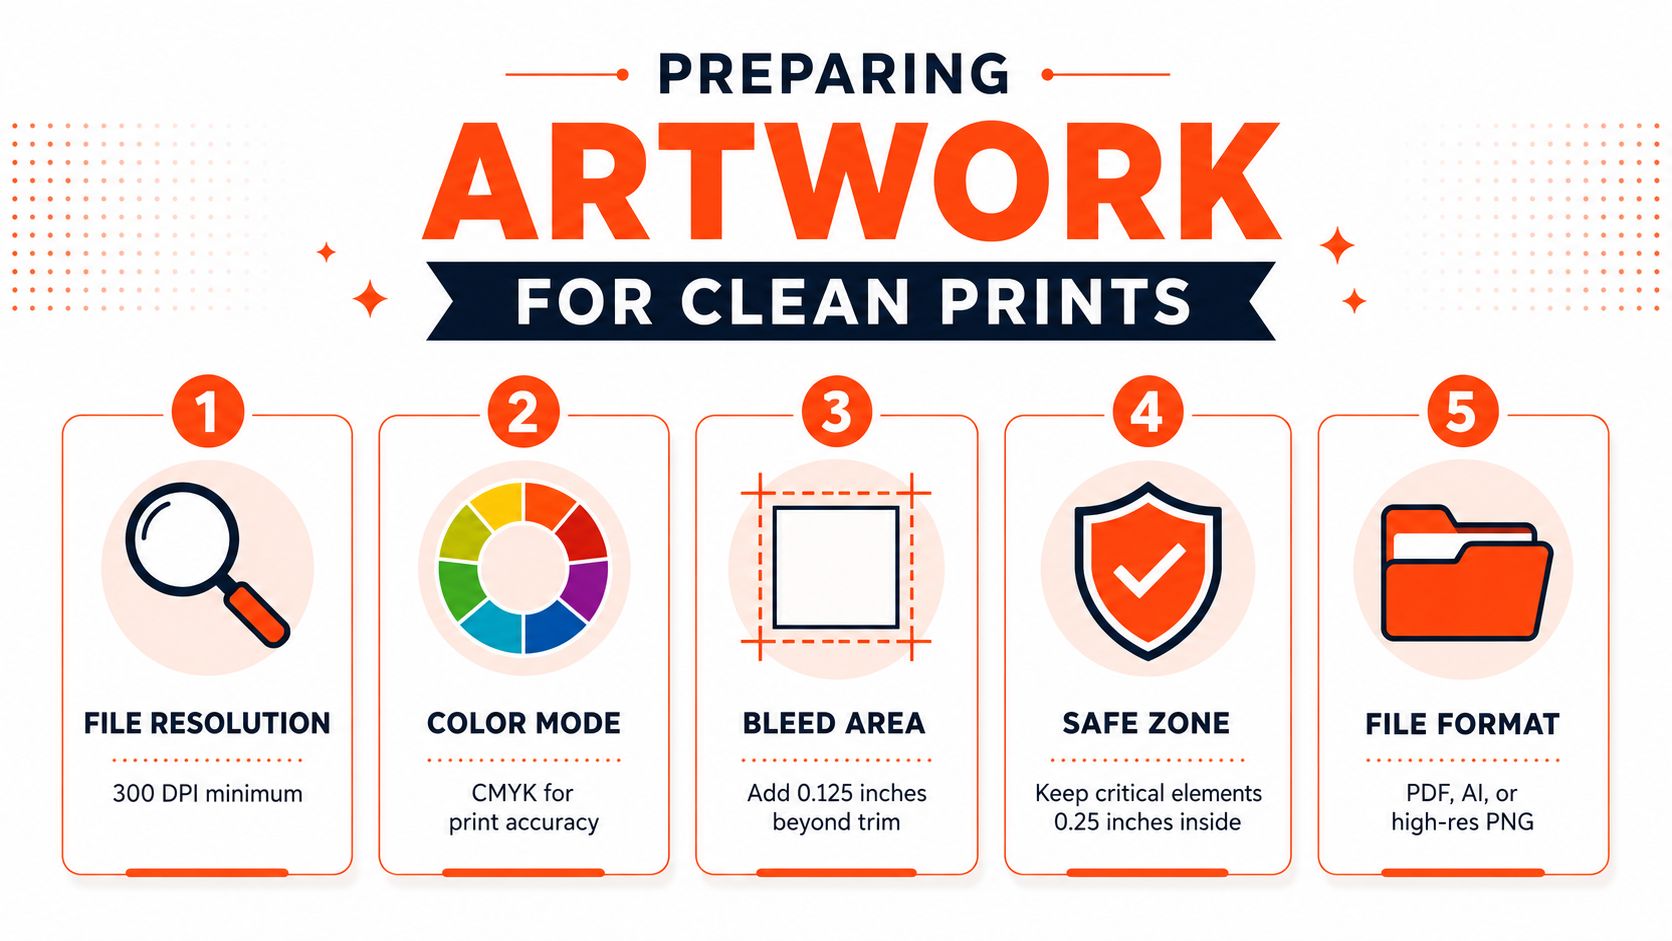
Most artwork problems show up before printing, not after. A logo that looks sharp on a phone screen can still trim badly, sit too close to the edge, or lose clarity once it’s scaled to a full-size head. The safest workflow for adhesive-style custom kick drum skins uses 150 dpi in CMYK, 2 inches of bleed on all sides, and a safe zone that keeps critical text and logos well inside the trim edge, with an 18-inch head requiring a 20″ × 20″ art file and a 16-inch safe circle riotstickers.com.
That file setup is about protecting the parts people need to read. The bleed can carry background color, texture, or photography, but the important elements need breathing room so they don’t get cropped. That’s the main failure mode with first-time files, the logo looks centered in the mockup, then the edge trim clips the lettering because the safe zone was ignored.
The other thing that helps is matching file type to artwork type. Vector logos hold edges cleanly, while raster photos need enough source quality to stay crisp at full diameter. Fine type and gradients can work, but they need more discipline than a simple solid-color mark, especially when the head is meant to read from a stage rather than from a desk.
For buyers who want a deeper visual planning guide, the design notes in custom bass drum head graphics are worth comparing against the art file before upload.
Design habit that saves orders: keep the background generous, keep the logo conservative, and never let a critical word sit in the bleed.
A clean file is usually the difference between a quick proof and a long revision cycle. If the artwork is being built for a band, a school, or a worship team, the safest move is to prepare one master file that already respects the trim, the safe zone, and the drum’s exact size.
Mic Port Placement and Hardware Clearance
The mic port is one of those details that looks small on a mockup and becomes huge on a real kit. A centered port can read as symmetrical on camera, while an offset port can frame a logo or keep the visual weight of the artwork balanced around the beater path. Either approach can work, but the port position should serve both the image and the mic setup, not one at the expense of the other.
Hardware clearance matters just as much. The cutout has to avoid lugs, spurs, and anything mounted near the shell, because a beautiful design becomes a hassle the moment a port lands on top of a piece of hardware. The same goes for live use, a port that fights the kick mic angle can turn a simple changeover into a fiddly job that slows the whole stage down.
For more detail on the geometry of the opening, bass drum port holes is the right place to compare layout options before finalizing artwork. The practical question is not just where the hole looks best. It’s where a mic can sit cleanly while the graphic still reads as intentional from the audience side.
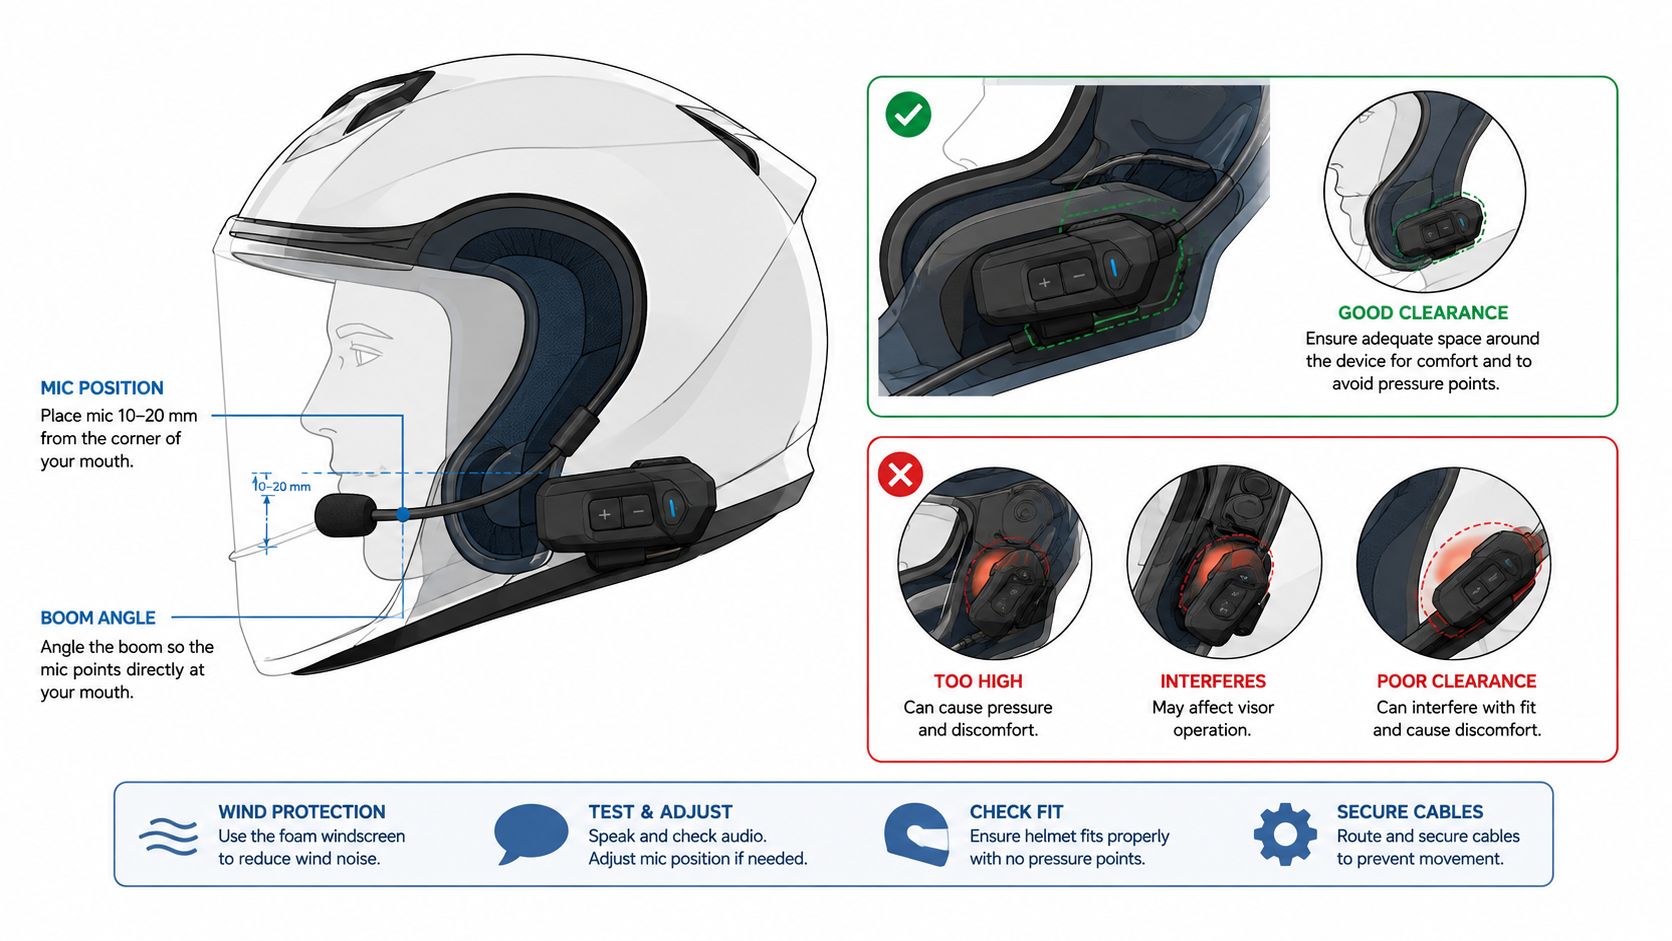
A port that looks perfect in a file can still fail on stage if it crowds a spur or leaves no room for a mic stand.
That’s especially true for three common scenarios. A backline provider often needs one head to work across multiple kits, so the port has to be forgiving. A worship team that films every service needs a layout that looks centered on video. A session drummer may need the same head to work with different kick mic choices without reopening the whole design.
Direct Print vs Vinyl Overlay and What It Means for Sound
A custom kick drum skin can look finished in the file and still behave very differently once it hits the head. Direct printing puts the image into the head surface itself. A vinyl overlay puts a separate film on top of a stock head. Both can get the branding job done, but they age differently, install differently, and ask different things from the drum once it leaves the shop.
Direct print is usually the cleaner route if the head is going to be handled hard, loaded often, or swapped between kits. There is no overlay edge to catch, no seam to lift, and no extra layer sitting between the player and the shell. The trade-off is that the artwork has to be right before it goes to press, because there is less room to fix alignment problems after the fact. For a closer comparison of the two methods, screen-printed drum heads vs direct-printed drum heads is the right place to look before you commit to a build.
Vinyl overlay makes more sense when the priority is a graphic layer that can sit on top of an existing head. It is described as premium 3M self-adhesive vinyl, with a textured, scratch-resistant laminate, bubble-free application, and residue-free removal, and the cut is set up to avoid controls, knobs, buttons, or sensors. That sounds simple on paper, but the fit has to be clean. If the head is dusty, the alignment is off, or the surface has any hardware conflict, bubbles and edge lift show up fast. A vinyl build can look sharp in the room and still be the more fragile option once the drum starts getting carried, cased, and reset.
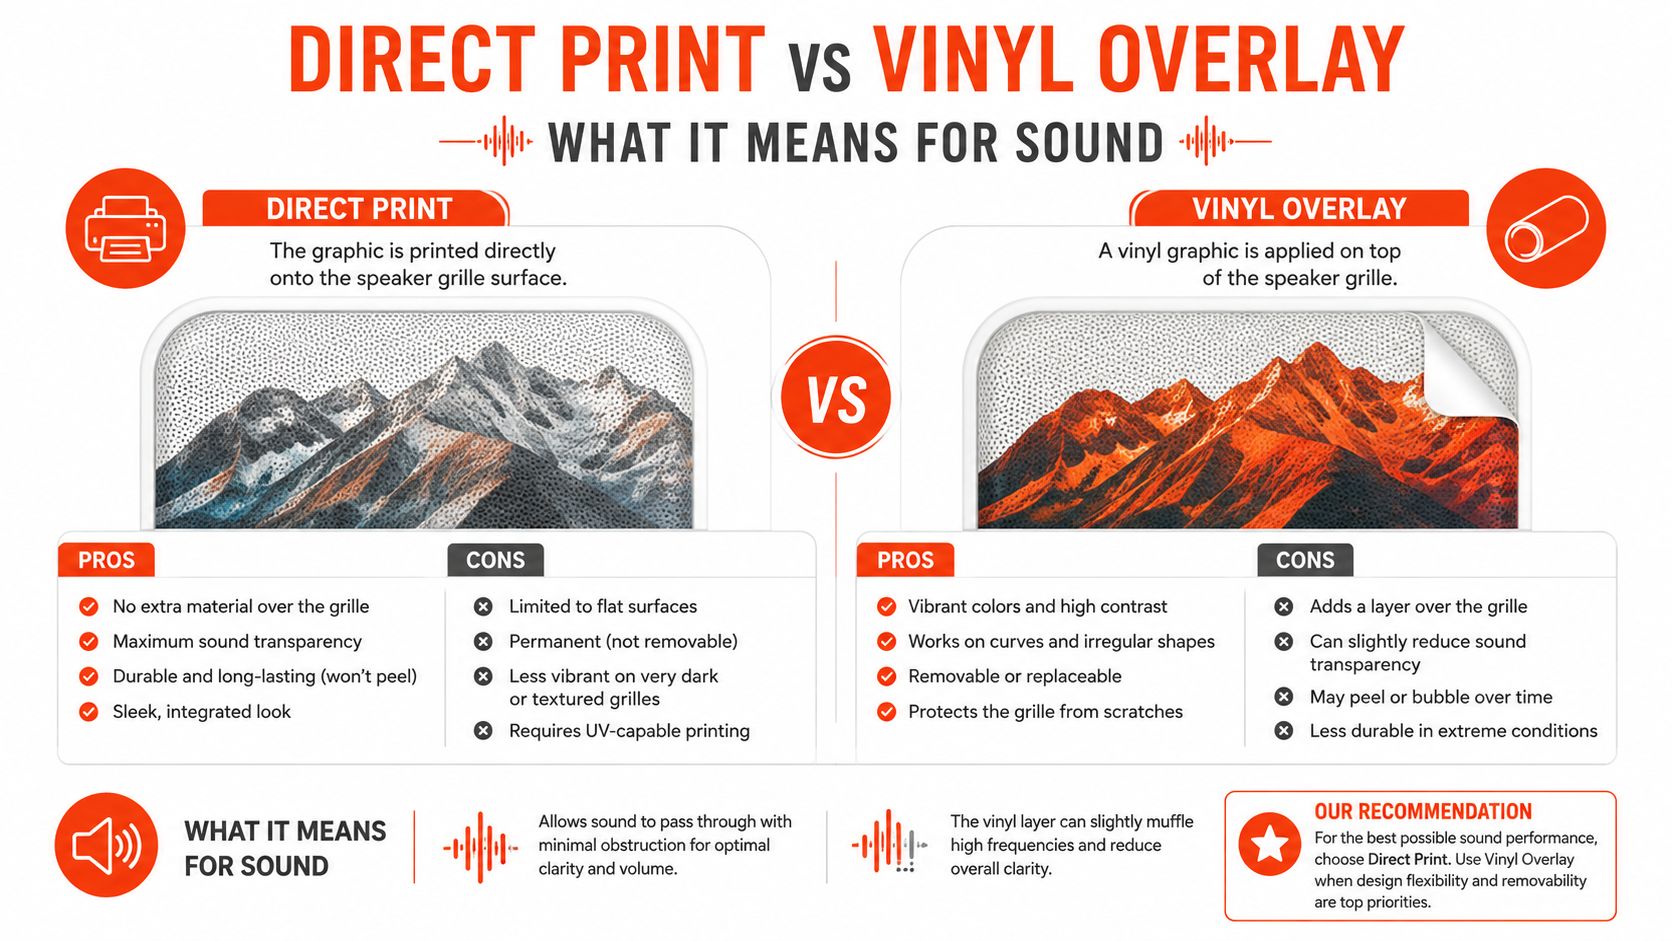
The 22-inch version follows the same logic. It uses premium 3M self-adhesive vinyl, is meant for easy, bubble-free application, and is cut to avoid knobs, buttons, or sensors. That kind of overlay can be useful for a player who wants a reversible graphic or a quick way to update a look without replacing the whole head. It still depends on the installer getting the surface prep and placement right, because the film itself becomes part of the wear pattern. For an additional visual reference, the comparison infographic between direct printing and vinyl overlays on speaker grilles, focusing on sound quality. shows the basic difference between a printed surface and a layered overlay.
What players usually notice
- Direct print: no added seam, no overlay edge, and a cleaner first impression at close range.
- Vinyl overlay: easier to retrofit, but the result depends more on application quality and surface prep.
- Sound impact: on a resonant head, the head itself matters more than the graphic method, but the build still affects how the front of the drum behaves under use.
Sound is the place where buyers often overthink the wrong part. On the front head, the printed image matters less than how the head is built and tensioned, but the print method still changes the surface feel and the way the head stands up to daily use. Vinyl adds a layer, so there is one more surface to age, mark, or lift. Direct print keeps the face simpler and is usually the better choice if the head is meant to travel, be mic’d often, and keep its look without much attention after installation.
The practical question is simple. Is the graphic going straight onto the head, or is it going onto an applied film? That answer changes how the order should be built, how much handling the finished head can tolerate, and how long the front of the kit will keep looking intentional under real stage use.
Getting the Size Right for Standard and Odd Kits
A custom kick head can look perfect on screen and still arrive wrong if the size is off by even a little. The first check is not the artwork, it is the drum itself. Confirm the diameter, shell depth, hoop style, and any unusual construction details before anyone starts laying out graphics, because a head that fits one front end may not seat correctly on another.
That matters on standard kits and even more on odd builds. If you need a precise walkthrough before ordering, use this guide to measuring drum heads and confirm the actual opening, not just the size written on the case or drum tag. The goal is to match the file to the head that will be installed, especially if the drum has a deeper shell, a different hoop profile, or a front head that sits tighter than expected.
For kick drums outside the usual sizes, keep the check simple and practical:
| Common Kick Drum Sizes and What to Confirm | ||
|---|---|---|
| Diameter | Typical Depth | What to Confirm |
| 18 inch | Varies by kit | Exact outer fit, depth, and whether the artwork needs to stay clear of the port |
| 20 inch | Varies by kit | Hardware spacing and front-facing composition |
| 22 inch | Varies by kit | Seating on the hoop and photo balance |
| 24 inch | Varies by kit | Clearance around lugs and any port location |
| 26 inch | Varies by kit | Specialty shell details and exact print alignment |
Odd sizes are not a problem by themselves. They just require better measurement and a cleaner handoff from the player to the shop. If the drum is a specialty build, the art file should be matched to the actual head type and the opening, not to a guess based on the nominal diameter. That is the step that saves time, because it keeps the proof, the print, and the installed head aligned before production starts.
Ordering, Turnaround, and Volume Pricing
The easiest orders usually begin with a mockup, not a file upload and a guess. A live preview catches crop problems, port placement conflicts, and a logo that looked fine on a small screen but feels lost on a full drum face. For band buyers and repeat clients, that approval step matters because a bad proof is easy to fix and a misprinted head is not.
The next question is turnaround. Custom Bass Drum Head says most orders ship within a few business days, with worldwide delivery available and volume pricing for schools, worship teams, marching lines, and corporate clients. That kind of schedule matters when the head is tied to a tour date, a school event, a seasonal service, or a brand launch, because the order has to fit the calendar, not just the design brief.
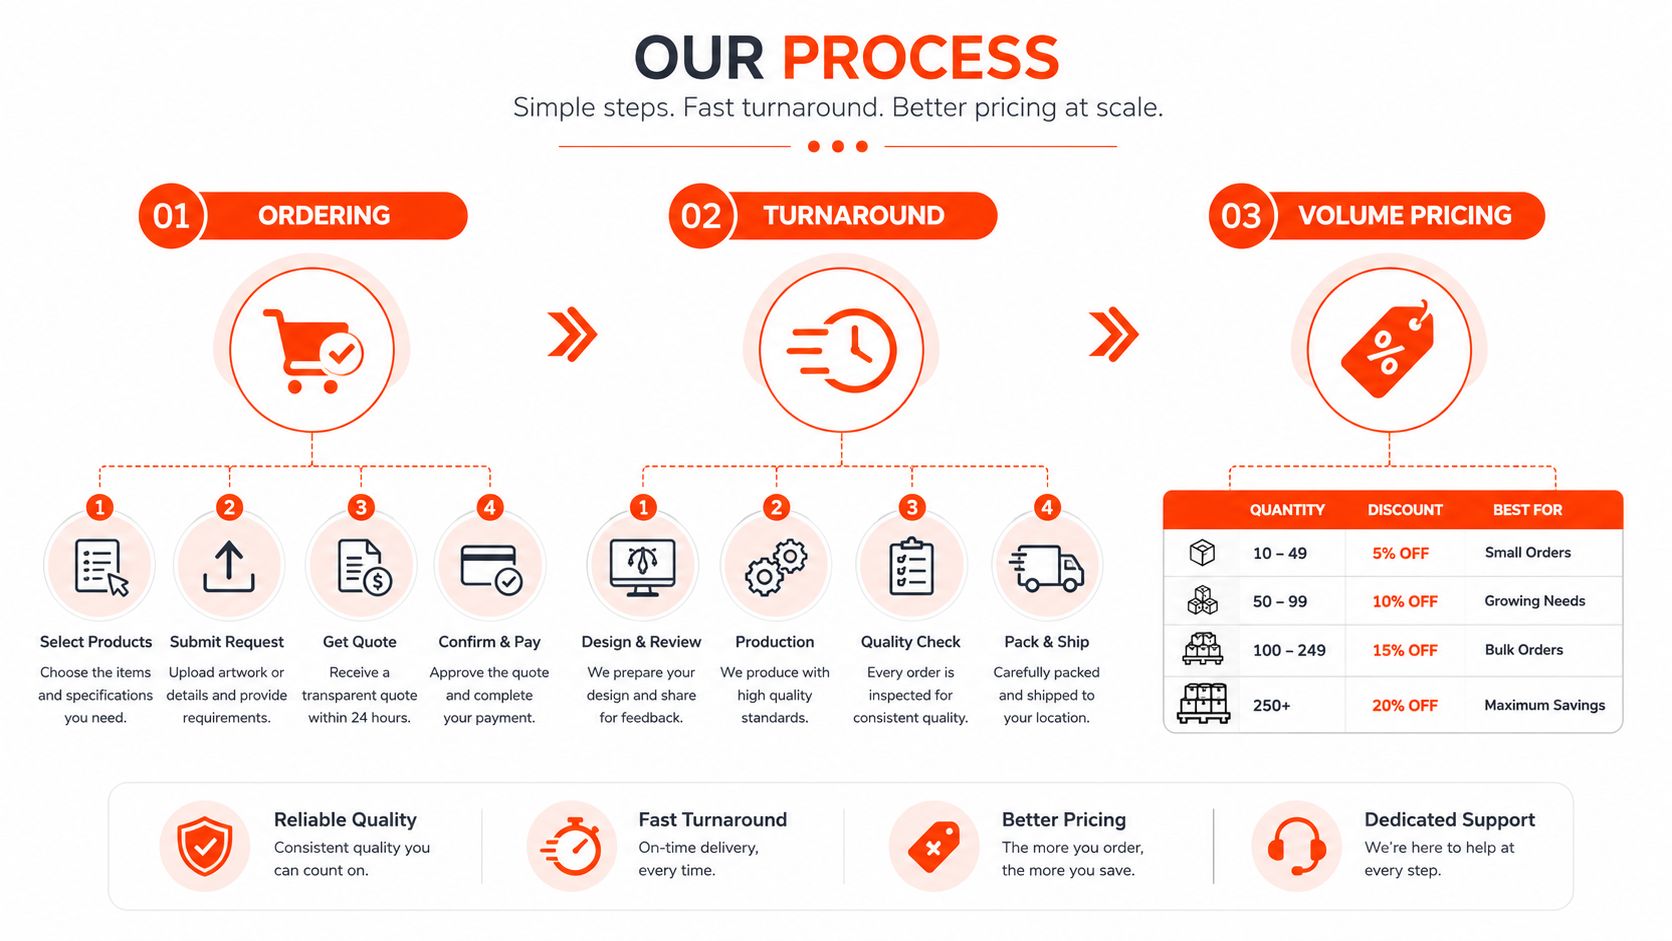
For larger orders, volume pricing is more than a simple discount. It also helps keep color and layout consistent across multiple heads, which matters when a drum line or church team wants every front head to look identical under the same lighting. Matching the design across a batch is easier when the proofing and print standards stay locked from head to head. The ordering notes in how to choose a custom drum head printing company are useful here because they help buyers ask the right questions before production starts.
After the box arrives, the head still needs careful handling. A printed head should be seated slowly so the hoop does not distort the surface, and a slight curl from shipping usually settles once the head is handled correctly and allowed to relax. Road grime can be cleaned gently, as long as the image is not scrubbed hard, and a head should be retired when surface wear starts to fight the look the band paid for.
There is also a sound reason behind all of this. The shift from animal skin to synthetic film created a surface that holds up to modern printing and stays consistent for regular gig use, which is why custom fronts can serve as both visual branding and practical gear at the same time. For buyers who want a custom head that fits a kit, a brand, and a real schedule, the next move is to review the mockup process, the size options, and the artwork requirements before placing the order.