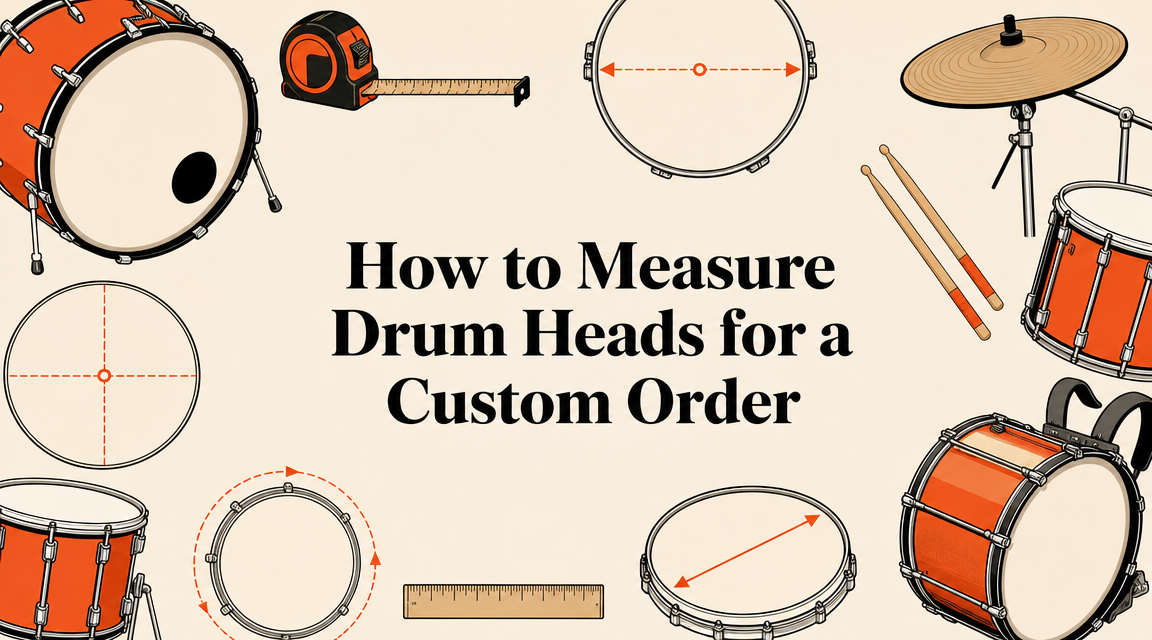
A lot of custom bass drum head orders start the same way. The artwork is ready, the band logo looks strong, the finish has been picked, and then the size dropdown stops everything cold. Is it a 20, a 22, or something else entirely?
That hesitation is normal. Ordering a printed head online feels simple until the details matter. A custom head has to do two jobs at once. It has to fit the drum correctly, and it has to present the artwork cleanly under stage lights, in photos, and on video. If either part is off, the final look suffers.
That's why learning how to measure drum heads matters before any file gets uploaded. For a custom bass drum head, size is only the first layer. Head type, print placement, and mic port location all affect how the finished drum will look from the audience side. A logo can end up perfectly centered or awkwardly clipped. A design can hold up for show after show or wear out much faster than expected.
Bands that want ideas before they commit can view our drum head gallery and see how different sizes, logo layouts, and port placements change the overall look. That usually makes one thing clear fast. The best-looking heads didn't happen by accident. They started with accurate measurements and a design built around the drum, not forced onto it afterward.
Your Custom Head Starts with One Simple Question
A band is ready to order. The logo file is clean, the mockup looks strong, and the only thing left is the size field. That is where good-looking custom heads get saved or ruined.
Start with the shell.
What size is the bass drum shell?
That answer drives more than basic fit. It sets the printable area, affects how the artwork sits once the head is mounted, and determines whether the final result looks centered on stage or slightly off every time someone points a camera at the kit.
I see the same mistake all the time with online orders. Someone measures the old head, the hoop, or whatever is easiest to reach from the front. Sometimes they get away with it. Sometimes they end up with a custom head that fits poorly and makes a clean design look crooked before the first show.
Practical rule: Order by shell diameter. Do not use the hoop or the old head as the reference.
For a plain replacement head, a measuring mistake is annoying. For a custom-printed bass drum head, it costs more than convenience. The print is part of the presentation. If the head seats unevenly, the logo can pull off-center, wrinkle near important text, or sit at a strange angle under tension. Even a small fit issue can make a polished design look like an afterthought.
This is also where custom work differs from a standard head order. The measurement is not just about whether the head goes on the drum. It affects every design choice that follows, especially if you plan to add a mic port or you are deciding between a batter and resonant head. A resonant head usually protects the print better for the long haul. A batter head puts the design in a higher-impact spot, but it also takes more abuse. Both can work. The right choice depends on how the drum is used and how long the artwork needs to stay sharp.
Treat the measurement like the first design decision, because that is exactly what it is.
Bands that want ideas before they commit can view our drum head gallery and compare how size, artwork placement, and port location change the finished look.
Getting the Perfect Fit Your Bass Drum Diameter
The correct measurement for a bass drum head comes from the drum shell itself. That's the standard used for replacement heads, and it's the only number that should drive a custom order.

The right way to measure
Remove the front hoop and the old head so the shell is fully exposed. Then measure straight across the shell opening from one side to the other. That gives the dimension that matters for fit.
According to Remo's shell measuring guidance, the nominal head size is determined by the shell diameter, not by the hoop or the head. The same guidance gives a concrete example: a shell measuring 21-7/8 inches takes a 22-inch head.
That rounding rule clears up a lot of confusion. The final order size is usually the whole-number nominal size that matches the shell.
What not to measure
The most common bad measurements usually come from one of these shortcuts:
- The hoop: Hoops can fool the eye and add misleading width.
- The old head: The head itself isn't the sizing reference.
- The visible front only: Measuring what's easy to reach often misses the actual bearing edge relationship.
Measure the open shell, not the hardware attached to it.
That single habit prevents most ordering mistakes.
A simple measuring checklist
Use this when confirming a bass drum for a printed front head:
- Take off the resonant hoop and head so the shell opening is visible.
- Measure straight across the shell rather than at an angle.
- Check the reading carefully if it lands just under a whole number.
- Order by nominal size based on the shell measurement.
For a custom order, that final whole-number size is the key field. It affects fit, print scaling, and how the art is laid out on the usable face of the head.
Why shell size and artwork need to be handled together
A bass drum head isn't just a replacement part when it carries a band logo. It's a branded surface. A larger diameter can give more breathing room around the graphic. A smaller diameter may require tighter composition, larger text simplification, or repositioning of design elements so the lugs and port don't crowd the visual center.
That's also why it helps to think about measurement before designing your custom drum head. The confirmed shell diameter tells a designer how much usable real estate is available and how aggressively the artwork can be scaled without feeling cramped.
A drummer who knows the exact shell size starts the order with confidence. A drummer who guesses usually ends up fixing preventable problems later.
Batter vs Resonant Heads What Matters for Your Design
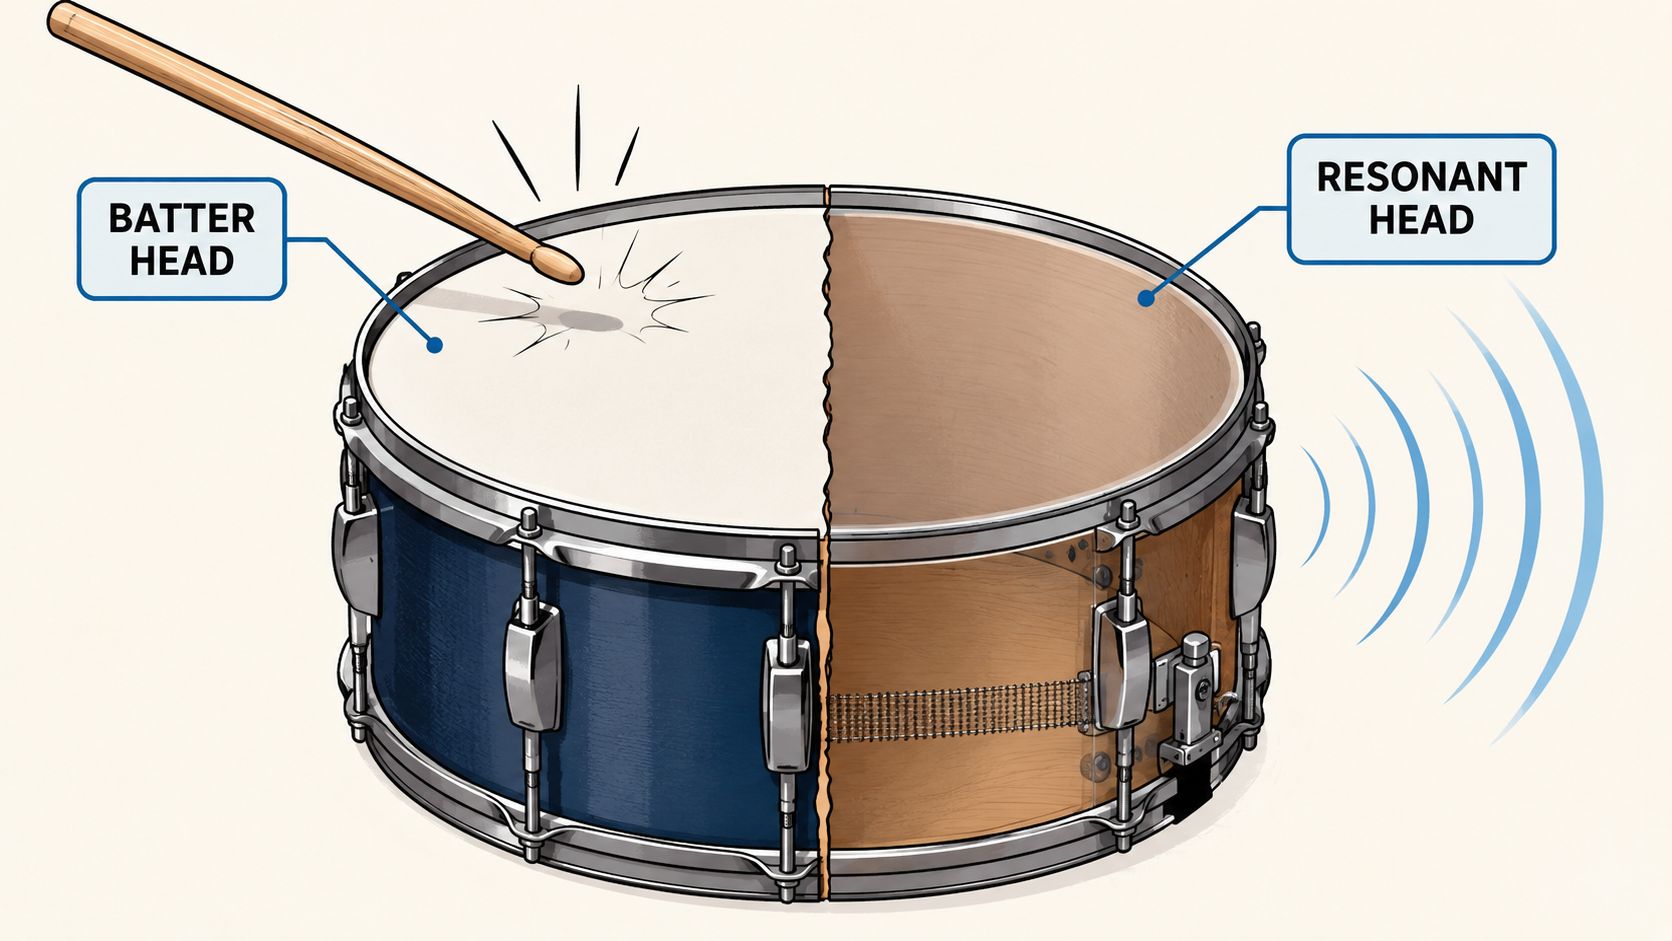
Custom graphics almost always make more sense on the resonant head, the front-facing side of the bass drum. That's the side the audience sees, the side photographers catch, and the side that stays visually intact longest.
Why resonant heads usually win
The resonant side acts like a display surface. It doesn't take pedal impact, beater wear, or the repeated scuffing that the batter side gets. For a logo, illustration, or photo-based print, that's the practical choice.
A printed resonant head is usually better for:
- Longevity: The image stays presentable far longer in normal use.
- Visibility: The audience sees the full design from the front of the stage.
- Clean branding: Names, marks, and graphics remain easier to read.
That's why the front head is where most drummers place the artwork that represents the band.
When a batter head makes sense
There are still a few situations where a printed batter head can be the right call. Some studio kits are built more for camera-facing setups than heavy touring. Some players want a visual concept that continues across both sides of the drum. Some tribute or theatrical rigs prioritize appearance in specific settings.
The trade-off is simple. The batter side gets hit. That means the printed surface lives a harder life.
A batter head can look great at first, but it's the wrong place for a design that needs to stay pristine under regular playing.
That doesn't make it a bad choice. It just makes it a deliberate one. Anyone choosing a printed batter head should do it with full awareness that the design's lifespan and appearance will be affected by use.
Choosing with the artwork in mind
The head type changes how the design should be planned. A front resonant head can support a centered logo, a wide band name, or a more detailed composition. A batter-side design usually works better when the graphic is simpler and the owner accepts wear as part of the look.
For bands finalizing files, the Custom Bass Drum Heads artwork files guide is useful for thinking through how the art will translate onto the finished head. The most successful designs match the use case. They don't just look good on a screen.
Placing Your Mic Port for Sound and Style
A mic port is one of the easiest places to ruin a strong design if nobody plans for it early. On a blank head, it's just a functional hole. On a custom head, it becomes part of the composition whether anyone intended that or not.

Use the clock face method
The easiest way to describe port placement is by imagining the head as a clock. Common placements often sit low on the right or low on the left, such as around the 4 o'clock or 7 o'clock area. That keeps the center cleaner for artwork and usually avoids cutting through the main logo.
For a custom order, the smart question isn't just where the microphone should go. It's where the hole can live without damaging the visual hierarchy of the design.
A good layout review asks:
- Does the port cut through the band name?
- Does it remove part of a face, symbol, or key graphic detail?
- Does the design still look balanced once the hole is added?
Build the artwork around the port
A lot of drummers treat the port like an add-on selected at the end. That's backward for custom printing. The port should be considered from the start, especially if the artwork includes text or a centered emblem.
Here are the most reliable approaches:
- Keep critical text high or central: Leave the lower side areas available for a port.
- Use negative space on purpose: Empty space can make the port look intentional instead of intrusive.
- Shift the logo slightly if needed: Perfect centering in the file isn't always the best choice on the finished drum.
- Think about stage angles: A port that feels minor on screen can become very obvious under lights.
The cleanest custom heads treat the port as part of the design, not damage done to it afterward.
Sound and appearance have to cooperate
Port placement also affects how the bass drum functions in practice. Some drummers want easy microphone access and a familiar low-side placement. Others prefer a look with less interruption to the artwork and build the design accordingly. There isn't one universal answer, but there is one consistent mistake. Waiting too long to think about the port.
Drummers comparing layout options can get a better feel for the practical side by reading how ports affect drum sound. For a custom printed front head, the best result comes when sound needs and visual priorities are decided together.
Common Measurement Mistakes and How to Avoid Them
Most measuring guides assume the drum is perfectly round and easy to read. Real drums don't always cooperate. Older bass drums, wrapped shells, and used kits can introduce just enough weirdness to make a standard tape reading feel suspicious.

The shell might not be perfectly round
That matters more than most players expect, especially when ordering a printed front head that needs to fit cleanly and present well. If the shell is slightly out of round, one quick measurement may not tell the full story.
According to Remo's FAQ on measuring a drum shell, drums that are out of round should be measured in several locations and averaged. The same guidance recommends another option for tricky shells: wrap a flexible tape or string around the outside of the shell and divide by 3.14 to estimate the diameter.
That's a useful fix when the readings don't agree from one point to another.
Signs the measurement needs a second look
A drummer should pause and recheck when any of these show up:
- The number feels oddly specific: Strange readings can mean the wrong point is being measured.
- The shell has age or wrap seams: Older drums and covered shells can create visual confusion at the edge.
- One side reads differently from another: That usually means it's time to average multiple measurements.
Practical troubleshooting table
| Situation | What usually works |
|---|---|
| Reading changes across the shell | Measure several spots and average them |
| Drum looks slightly distorted | Use the string-wrap method for a better estimate |
| Hardware seems to add width | Remove the head and hoop, then measure the shell only |
| Graphic has tight margins | Reconfirm the size before uploading artwork |
If a bass drum is fighting the tape measure, the shell is usually telling the truth and the hardware is creating the confusion.
The custom-print consequence
With a plain replacement head, a small measuring error is annoying. With a custom print, that same error can throw off the whole project. The design may be scaled for the wrong size, the margins may feel tighter than expected, and planned port placement can land in a less flattering spot.
That's why this part deserves patience. Measuring once is fast. Measuring carefully saves the order.
From Measurement to Masterpiece Uploading Your Specs
Once the shell diameter is confirmed, the rest of the custom order gets much easier. The measurement tells the printer what physical size to produce. The head choice tells them whether the artwork is going on the front-facing display surface or the playing side. The port choice tells them how the final graphic needs to be arranged so it still looks intentional after installation.
What to have ready before ordering
Keep these details together before opening the order page:
- Confirmed diameter: The shell-based size for the head.
- Head position: Batter or resonant.
- Port decision: Whether a port is needed, plus its planned location.
- Artwork file: The logo, graphic, or finished design version intended for print.
That preparation makes the process smoother and cuts down on avoidable revisions.
Turning specs into a finished order
The earlier decisions pay off here. Instead of guessing through the form, the buyer can enter the size with confidence, choose the correct side, note the port placement, and upload art that already accounts for the usable visual space on the head.
The ordering step works best when the measurement and the design were treated as one project from the start. A custom bass drum head isn't just about fit, and it isn't just about artwork. It's about getting both to land correctly on the same piece.
When those details are ready, the next step is simple. Design and order your custom drum head.
Custom artwork deserves a head that fits right, prints cleanly, and looks sharp under stage lights. Custom Bass Drum Heads makes it easy to turn the right measurements, the right layout, and the right file into a finished bass drum head built for real-world use.