
The battery is already on the field when the problem becomes obvious. From the sideline, one bass drum carries a logo that looks oversized, another has a different color balance, and a third shows a tired print that disappears under stadium lights. The players may be perfectly aligned, but the visual package isn’t.
A custom marching band bass drum head fixes more than a worn front surface. Done properly, it gives the entire battery one recognizable identity, from the smallest drum to the largest. The right process starts with an inventory, continues through artwork preparation and proofing, and ends with heads that remain readable from the stands.
Standing on the Sideline Before the Custom Order
A sideline inspection should come before any design work. Watch the battery move through the drill and look past the playing. The useful questions are visual: Does the mascot appear at the same relative scale? Do the school colors match from drum to drum? Are borders, text, and graphic spacing consistent, or does each head look like a separate project?
Start with a written inventory. Count every bass drum, record each shell diameter, and note whether the current heads are smooth white, ebony, or another finish. For a common full battery order, the size list might include 16, 18, 20, 22, and 24 inch drums. Marching heads are available across a much wider range, from 14-inch through 36-inch diameters, and some marching models are offered in 2-inch increments, including 14, 16, 18, 20, 22, 24, 26, 28, 30, and 32 inches, as documented in marching bass drum head size specifications.
Make the audit practical
Record the condition of every existing head:
- Graphic wear: Note fading, scratches, peeling-looking areas, or sections that no longer read cleanly.
- Physical damage: Mark dents, tears, holes, or stretched areas. Beat marks can be acceptable, but damage that changes the playing surface is a replacement issue.
- Design drift: Compare logo width, text placement, border thickness, and color treatment across the line.
- Hardware clearance: Check whether the artwork approaches rims, lugs, carrier hardware, or any planned microphone port.
For measurement confirmation, use this guide to measuring drum heads before submitting artwork. A wrong diameter can ruin an otherwise excellent design, and marching shells shouldn’t be assumed to match a kit drum just because the nominal size appears familiar.
Practical rule: The battery is one visual system, not a stack of individual head orders.
The rest of the project follows from that decision. Size, finish, vector artwork, color control, proof approval, mic-port planning, and storage all affect whether the design looks field-ready. Consistency across the full battery matters as much as the individual head design.
How Marching Bass Drum Heads Differ from Kit Heads
A marching bass drum head has a different job from a kit bass drum head. A kit head is usually judged at close range, often in a controlled room, while a marching head must survive movement, carrier mounting, outdoor acoustics, and long sightlines. The artwork has to project visually even when the drum is moving across a field.
Marching instruments also interact with a carrier harness. The head sits on a drum carried in front of the player, so the hoop, shell, harness clearance, and player-facing position all matter during installation. A custom design that crowds the rim or places important lettering where the carrier obscures it can look fine in a flat digital file and fail once mounted.
The size decision changes the artwork
Marching bass heads cover a broad range, including 14 inches through 36 inches, while common kit bass drums occupy a narrower set of familiar sizes. The broader marching range creates a design problem that kit artwork often avoids. A mascot that looks balanced on a large head may become cramped on a smaller face, while oversized text can dominate the smallest drum and look weak on the largest.
| Attribute | Marching Bass Head | Kit Bass Head |
|---|---|---|
| Primary setting | Outdoor field performance and movement | Indoor, studio, stage, or close-range performance |
| Mounting context | Carrier harness, marching hoop, and player clearance | Fixed kit shell and stand or pedal setup |
| Visual demand | Strong contrast and immediate recognition at distance | Detail can work because viewers are usually closer |
| Size planning | Multiple diameters often need one coordinated design | Artwork is commonly created for one drum |
| Design priority | Battery-wide consistency, visibility, and durable presentation | Individual kit identity and room-specific appearance |
Head construction also affects the visual result indirectly. Widely sold marching bass heads commonly use 1-ply, 10-mil film with an internal inlay or muffling ring, a construction described in this marching bass drum head product guidance. Thicker film can resist denting and maintain projection under force, while controlled damping reduces excess ringing. That makes the head a better foundation for a clean graphic because the performance environment rewards clear attack and controlled sustain.
The distinction matters when a program has both a concert bass drum and a marching battery. A marching specification shouldn’t be treated as interchangeable with a drum corps specification, and neither should be assumed to match a concert or kit setup. The shell, carrier, head collar, playing context, and artwork sightline all need confirmation before ordering.
For more artwork-focused background, the custom bass drum head graphics guide can help frame the design conversation around the printed surface rather than treating every bass drum as the same canvas.
Designing Artwork That Matches Your Band’s Visual System
The strongest marching graphics don’t begin with a mascot dropped onto five blank circles. They begin with a visual system. The school mascot, uniform trim, guard uniforms, pit flags, banners, and school colors should feel related even when they aren’t identical.
A director or section leader should gather the existing visual references before sketching. Photograph the uniform accents in neutral light, collect approved logo files, and identify the exact school colors used by the band and guard. A bright red on a flag, a darker red in a uniform stripe, and a third red in a mascot file can create visible inconsistency once the heads are lined up.
Build the file for scale
School mascot and color artwork should be submitted in vector format for the sharpest results at any size. AI, EPS, and SVG files preserve clean edges as artwork scales from a 16-inch face to a 24-inch face. Raster files can still be usable, but they need enough resolution and careful inspection at final output size.
Before requesting a proof:
- Outline strokes: Thin live strokes can change appearance during scaling. Convert critical outlines into dependable filled shapes.
- Convert type to outlines: This prevents font substitution and keeps the approved lettering intact.
- Create one approved swatch set: Use the school and guard palette consistently across every size.
- Simplify fine detail: Small internal mascot details may vanish on the smaller heads or at stadium distance.
- Protect open space: A logo needs breathing room around it. Crowding weakens recognition.
The 16-inch head deserves special attention. It has less usable face area, so a detailed mascot, long school name, border, and secondary slogan can’t all receive equal emphasis. The 24-inch head can carry more visual information, but the design still needs to look like the same family rather than a separate oversized poster.
Approve one design language
A single design lead should approve the visual system before production mockups begin. That person might be the director, a design volunteer, or a school communications lead. The important part is one final decision-maker for logo proportions, color references, text hierarchy, and guard integration.
A useful system might use the mascot as the central mark, school text on an outer ring, and a border that echoes the uniform trim. Another program may use a simplified monogram with a color field that matches the guard’s flags. Either approach works if the same rules govern every drum.
The custom bass drum head graphics resource offers additional direction for turning a band identity into printable artwork. The proof should show the artwork on each actual diameter, not merely on one generic circle.
Choosing the Right Head Finish for Your Logo
Finish choice changes the entire design conversation. Major manufacturers publish marching bass drum heads in smooth white and ebony finishes, with smooth white models listed from 14 inches up to 36 inches and ebony options available in selected sizes such as 14, 20, 24, and 26 inches, according to these marching bass drum head finish specifications.
Smooth white is the safer recommendation for most school programs. It gives colored inks a bright base, supports detailed mascot artwork, and makes dark lettering easy to read. Ebony creates a more dramatic, aggressive appearance, but the artwork must use stronger brightness and simpler shapes.
| Attribute | Smooth White | Ebony |
|---|---|---|
| Logo contrast | Strong with dark or saturated colors | Strong with bright, light, or metallic-looking artwork |
| Detailed artwork | More forgiving | Requires simplification and careful color choices |
| School branding | Works with most palettes | Best when the palette includes bright accents |
| Common mistake | Using pale colors without enough separation | Using thin pastel lines or dark lettering |
| Battery effect | Clean, bright, traditional presentation | Bold, high-impact visual identity |
Thin pastel artwork on ebony usually loses authority from the stands. Dark navy or maroon on smooth white can also become muddy if the design lacks a clean outline. The correct choice depends on the logo, but the recommendation is clear: use smooth white for detailed mascots and broad school-color flexibility; use ebony for bold marks built around bright contrast.
Finish is an order-time decision. It shouldn’t be treated as a minor surface preference after the artwork is complete. Check the logo on a finish sample or realistic proof under daylight and stadium-style lighting before approval, then use the same base across the full battery unless a deliberate visual effect calls for a controlled exception.
Printing method also affects how artwork behaves on the head surface, so directors comparing production approaches can review this screen-printed versus direct-printed drum head guide before locking the file.
Ordering a Matching Battery Across Multiple Sizes
A unified battery order starts with one complete size list. Submit the 16, 18, 20, 22, and 24 inch heads together, rather than ordering the smallest drum first and trying to match the rest later. One order gives the production team one approved artwork system, one color reference, and one consistency check across the line.
The design shouldn’t be copied mechanically at the same percentage for every diameter. Outer rings, borders, and school text should scale proportionally, while the central mascot or monogram should remain visually consistent. The smallest head needs enough open space to avoid crowding, while the largest head shouldn’t make the logo look lost in an oversized field.
Use a proof for every diameter
Require a digital mockup for every size before production. A single 20-inch proof can’t reveal whether the 16-inch version has cramped text or whether the 24-inch version has a border that feels too thin.
Review each proof for:
- Center alignment: Confirm that the mascot, monogram, and text sit on the same visual axis.
- Hoop-safe margins: Keep essential artwork away from the rim and lug zones.
- Font weight: Make sure lettering doesn’t become thinner on smaller heads.
- Border thickness: Prevent the outer frame from drifting between sizes.
- Color callouts: Record PMS references or approved digital color values for every major ink.
- Mic-port clearance: Reserve the port area before final approval if a port will be cut.
A matching battery doesn’t mean every head has identical artwork dimensions. It means every head follows the same design rules.
The ordering page at Custom Bass Drum Head’s marching bass drum head builder can be used as one way to organize a multi-size project and preview a coordinated line.
The graphic proof should also account for installation. The hoop may hide a small amount of the perimeter, and the carrier can change the apparent viewing angle. Artwork that looks centered on a flat screen needs to remain centered when the drum is worn and moving.
Mic Ports, Tuning, and Mounting for Marching Use
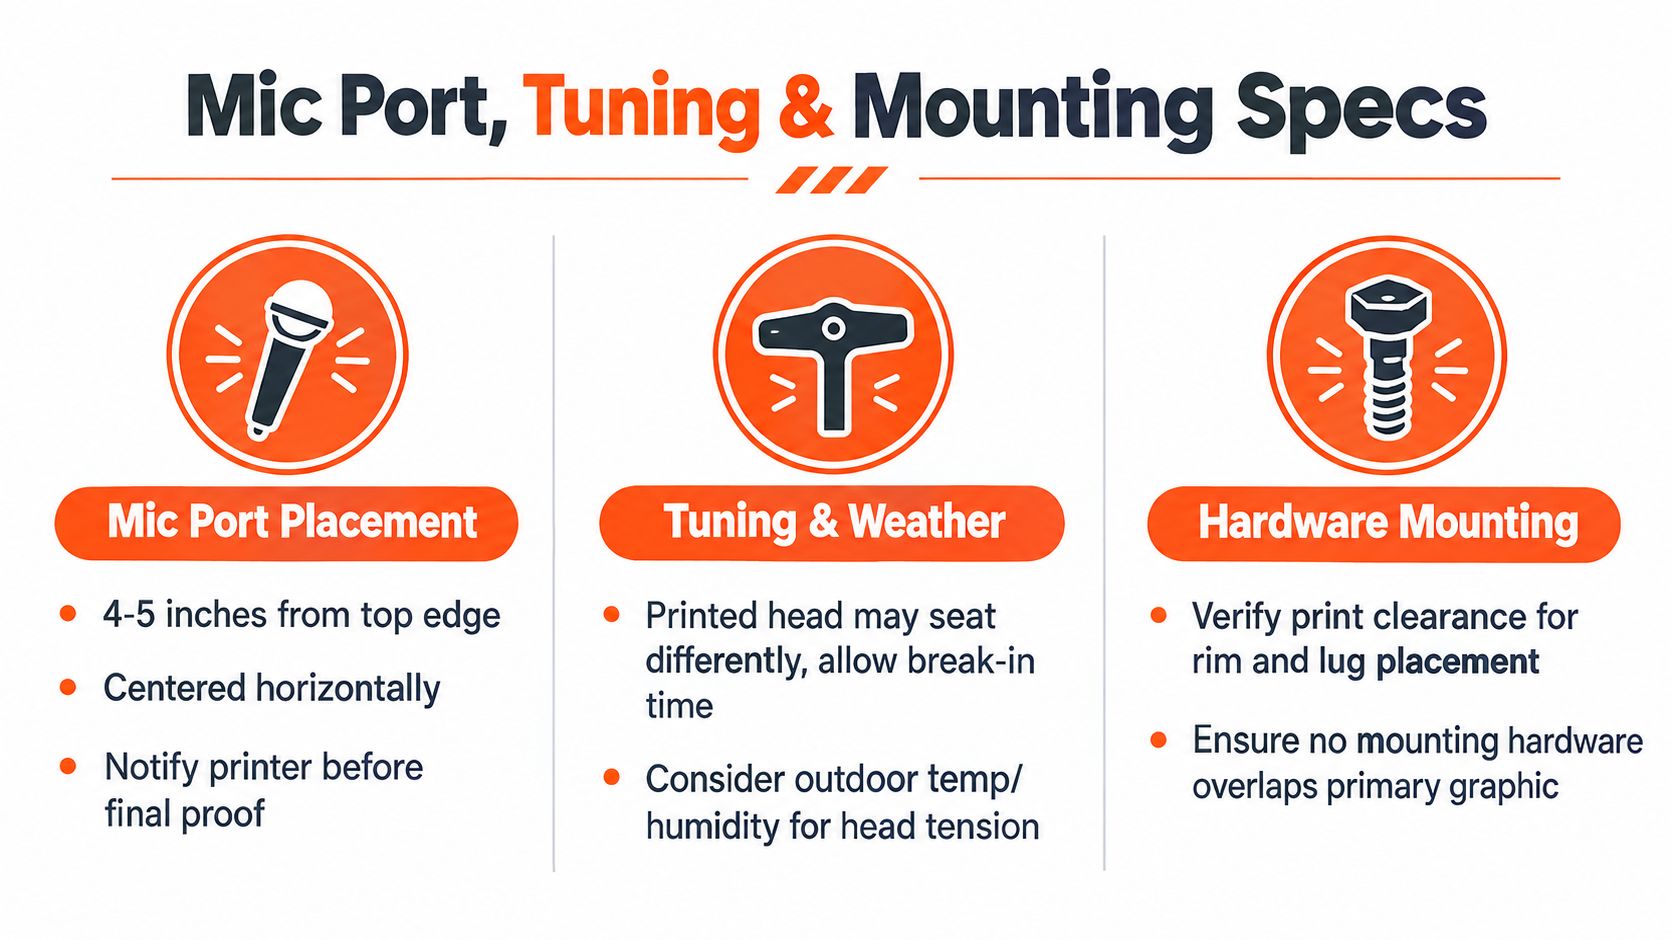
A printed resonant head still has to work as part of an instrument. If a bass drum uses a microphone port, the port should be planned before artwork approval. Neutral industry guidance places a typical bass drum port at about 4 to 5 inches in diameter, with 4 inches described as a minimum for microphone access and 5 inches offering better fit, while a port larger than about 7 inches changes the sound more dramatically, as explained in this bass drum mic port placement guidance.
For a custom marching head, the practical design rule is simple. Keep the primary mascot, school name, and key lettering away from the port zone. A centered port may require the logo to sit higher or lower, while an offset port can preserve a centered graphic. The location should be confirmed with the person handling microphones and the person approving artwork, not added after printing.
Tune for the ensemble, not the graphic
Marching bass drum heads are typically tuned so the two heads avoid the same exact pitch. Technical military percussion guidance recommends setting one head a major or minor second apart from the other to suppress a definite pitch and create a low, resonant, indefinite tone beneath the ensemble texture, as described in this military percussion tuning guidance.
That same guidance stresses keeping both heads tight enough to eliminate rattling and tensioning every lug evenly. Uneven tension can introduce unwanted pitch artifacts and reduce clarity. Those requirements affect the ordering decision because a durable, properly seated head is more valuable than a visually attractive head that can’t hold a stable response.
For installation on a carrier-mounted drum, the hoop needs even tension and the head needs time to settle after seating. Weather changes can alter tension and response, so the section should recheck the drum after outdoor exposure rather than trusting the first indoor setup. The printed design doesn’t replace normal hardware checks. It makes those checks more important because a loose rim or damaged head can make a unified battery look and sound inconsistent.
The second review should happen after mounting. Confirm that the port is clear, the logo isn’t hidden by carrier hardware, and the head remains visually centered from the audience side.
A field-ready proof includes both the artwork plan and the hardware plan. That combination prevents a beautiful graphic from interfering with microphone access, mounting clearance, or stable tension.
Field Readiness, Care, and Ordering Next Steps
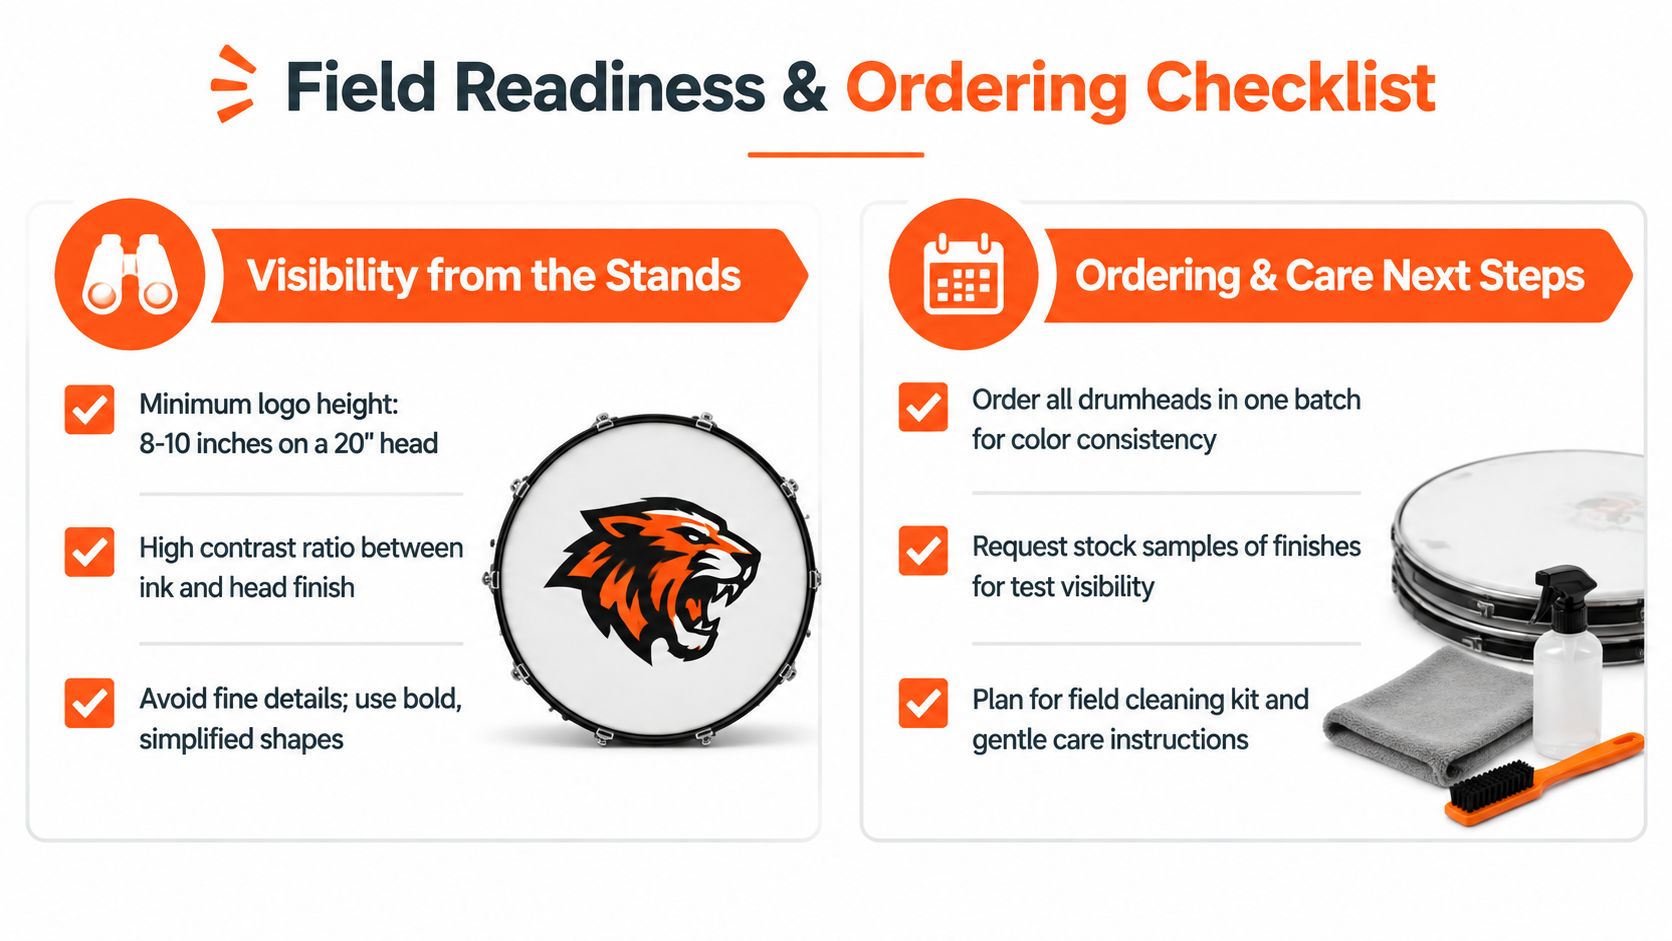
A graphic that looks excellent in the band room can disappear from the press box. The design needs bold shapes, strong separation between ink and head finish, and enough size for the mascot or school name to read from the stands. A practical starting point is a logo height of roughly 8 to 10 inches on a 20-inch head, as shown in the supplied field-readiness checklist infographic, but the final decision should come from a real-distance viewing test.
Test daylight and night visibility
Print or display a scaled proof and inspect it from the far side of the field during daylight. Then check it under game lighting. Daylight can reveal color mismatches and low contrast, while night lighting can flatten dark colors and make fine outlines disappear.
Use these field checks:
- Distance: Review the mascot and school text from the stands, not only from the sideline.
- Contrast: Pair bright artwork with ebony and dark artwork with smooth white when the logo requires it.
- Shape: Replace delicate interior detail with bold, simplified forms.
- Consistency: Line up the battery and inspect the negative space between drums, not just each head individually.
- Lighting: Check whether outlines, borders, and secondary text survive under stadium illumination.
Care protects both print and playing surface. After a show, staff should wipe the head with a damp microfiber cloth and avoid solvents that can attack synthetic film. Store drums in cases or vertical racks that protect the hoop from distortion, and inspect heads for stretching, dents, tears, and holes before each extended run of use. Neutral marching-instrument care guidance recommends reducing both heads’ tension by about half during storage while retaining enough tension to protect the hardware, as explained in this marching bass drum care and maintenance guide.
Lock the order with a written checklist
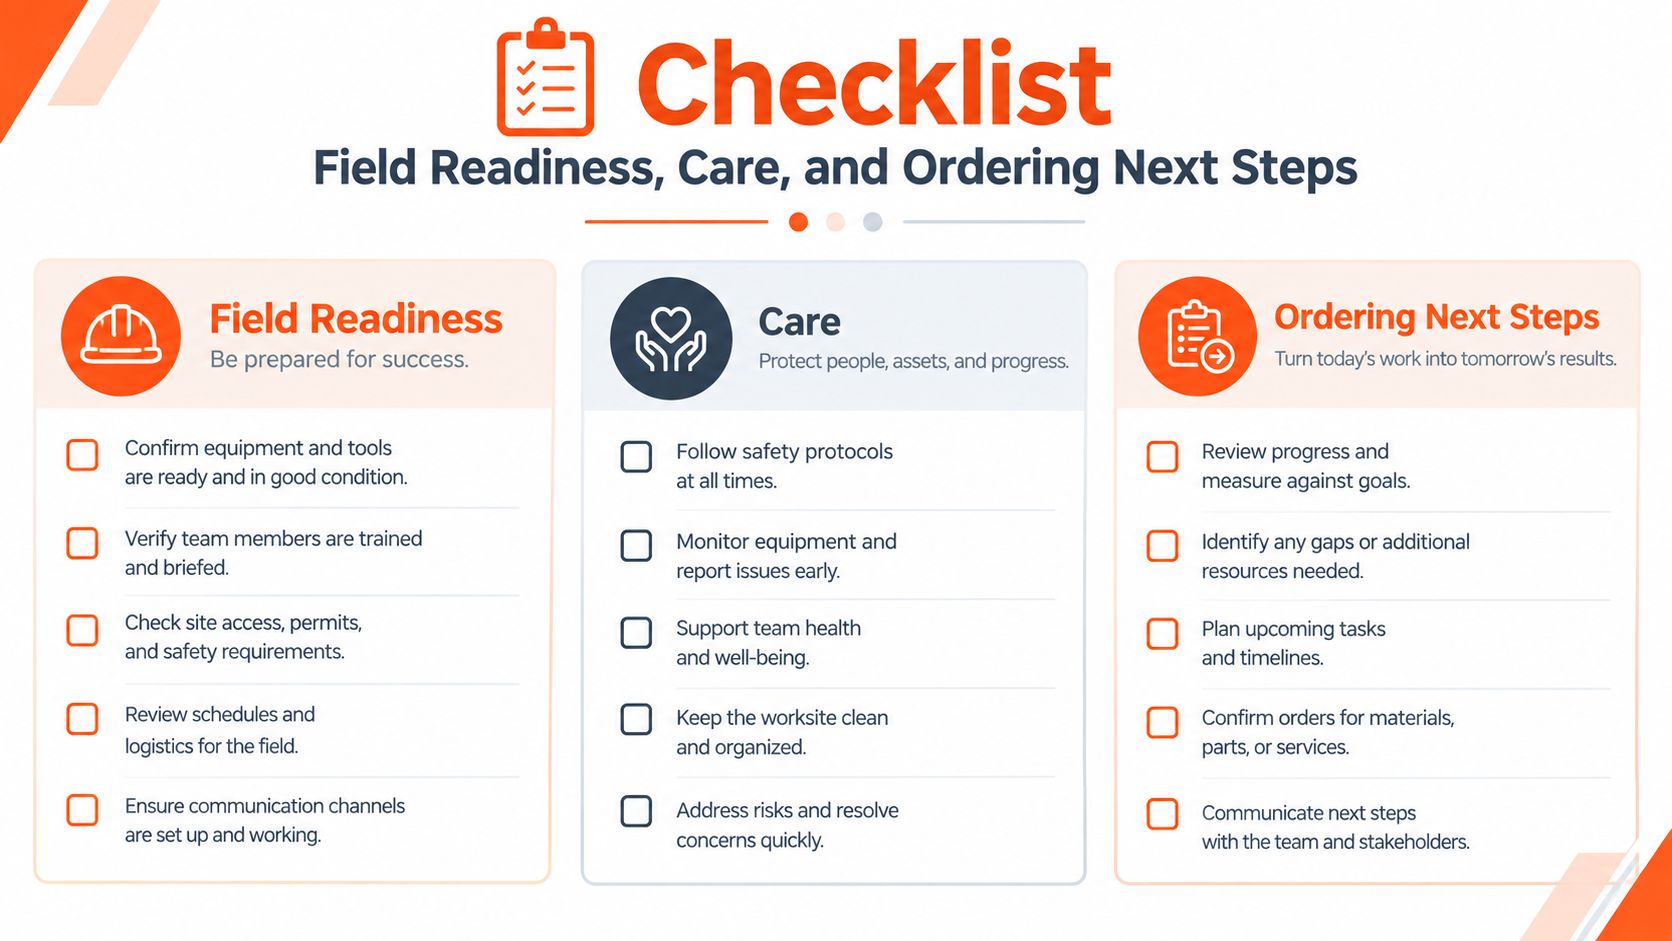
Before production, confirm:
- Measurements: Verify every shell diameter and mounting requirement.
- Artwork: Submit the school mascot and color artwork in vector format whenever possible.
- Mockups: Approve separate proofs for 16, 18, 20, 22, and 24 inch heads.
- Finish: Confirm smooth white or ebony after testing contrast.
- Port: Mark the port location and size before final artwork approval.
- Clearance: Check rim, lug, hoop, carrier, and mounting zones.
- Timing: Confirm production and shipping time before band camp or the first game.
- Reorder plan: Save the final file, color references, and size-specific proofs for the next season.
A replacement decision should be based on performance and durability, not cosmetic perfection. Beat marks may be acceptable, but dents, tears, and holes signal that the head or its response needs attention. Storage discipline can protect the investment just as much as careful playing.
Custom Bass Drum Head lets bands upload artwork, build a coordinated marching line, review browser-based mockups, and order printed heads across multiple sizes. Directors and section leaders ready to unify a battery should gather the size list, prepare the vector mascot and color files, then visit Custom Bass Drum Head to design and approve the field-ready set.