
The blank kick head is still on the stand, and the band is already asking for the same thing every time, “Can it look more like us?” That question usually shows up right after a gig, during a rehearsal photo check, or while shopping for a gift that won’t end up in a drawer. A personalized bass drum head is the clean answer because it turns the biggest circle on the kit into part of the band’s identity, not just a piece of gear.
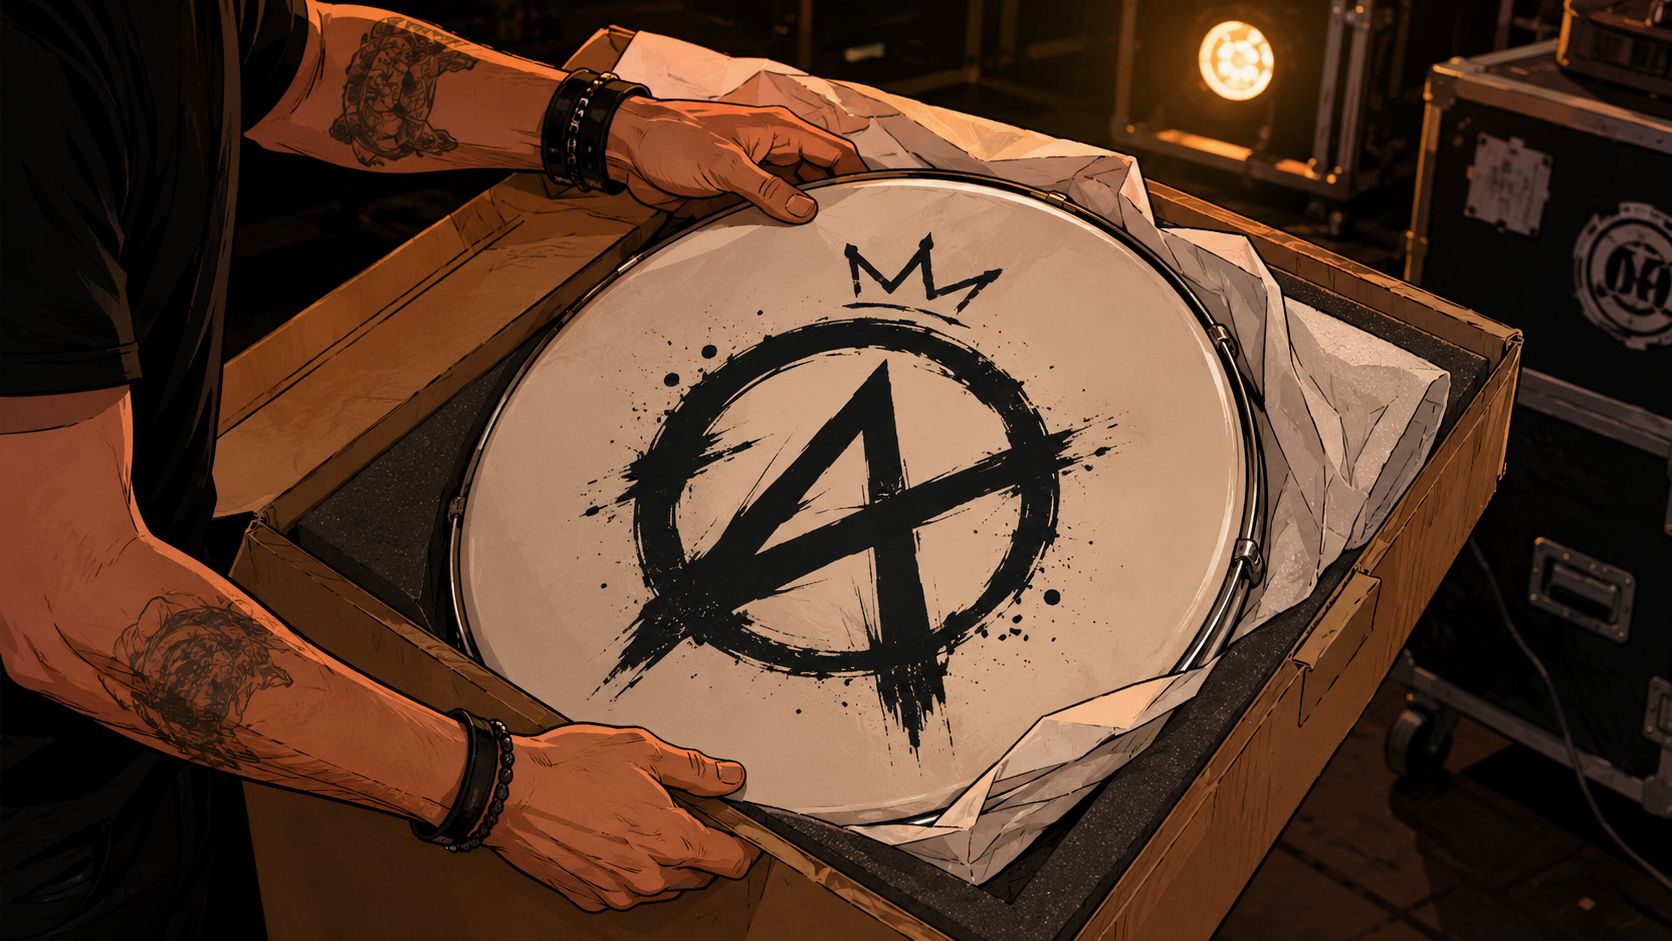
That matters for drummers, bands, teachers, worship teams, and backline crews because the head has to do two jobs at once. It has to look intentional in photos and on stage, and it has to arrive fast enough to matter for the next service, session, or run of shows. A good one does both without turning the kit into a fragile novelty.
For a fast design starting point, the most useful first question is usually logo shape and readability, not decoration. A clean band mark, a bold title, or a simple event graphic often beats a crowded concept that disappears from 20 feet away. A helpful starting guide is the band logo design guide, because the logo usually becomes the center of the whole head.
Practical rule: if the head will be seen from across a room, it needs to read in one glance. If it needs a long explanation, it’s probably too busy.
Why Drummers Put Their Name on the Big Drum
The moment usually hits during load-in. The cymbals are up, the snare is tuned, the lights are still off, and the kick head looks like a blank billboard for someone else’s brand. That’s when a plain resonant head starts to feel like wasted real estate, especially if the rest of the band already has a visual identity.
A personalized bass drum head solves that problem because it changes the first thing people see when they look at the kit. It also changes what the kit says in photos, promo shots, livestream thumbnails, and backstage documentation. A printed head feels less like decoration and more like part of the setup, which is why it fits bands, school programs, worship teams, and event crews so naturally.
Why it works as a gift
As a gift, it lands because it feels specific. A drummer can already own sticks, heads, and hardware, but a custom-printed kick head marked with a band logo, a teaching studio name, or a milestone graphic feels made for that exact person. That’s a much stronger gift than another generic piece of gear.
The best part is that the gift doesn’t have to be overdesigned to feel personal. A clean mark, a meaningful date, or a simple wordmark can be more useful than a collage of inside jokes. The win is that the head becomes visible every time the drummer sets up.
For buyers trying to answer “what should go on it,” the answer is usually the simplest visual that matches the player’s world. A student’s name, a band logo, a worship series graphic, or an album title can all work, as long as the design fits the stage. The decision is not whether to personalize, it’s what the kit should say when the lights come up.
What a Personalized Bass Drum Head Actually Is
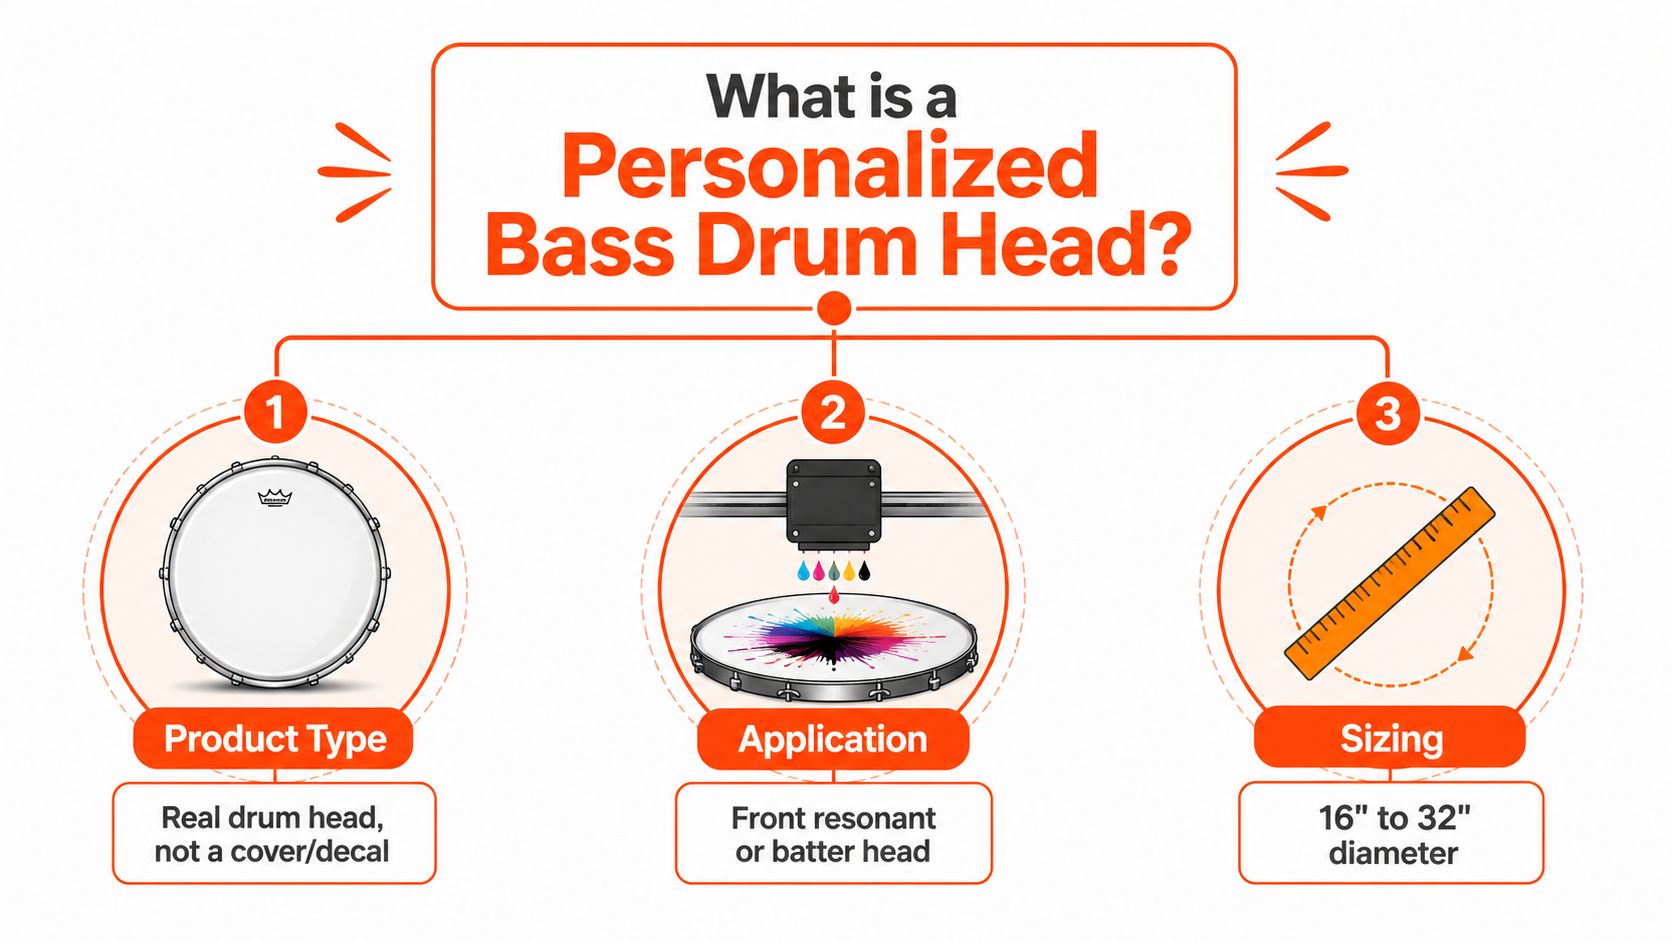
A personalized bass drum head is a real drum head with artwork printed directly onto the film. It is not a vinyl sticker, a loose wrap, or a decorative cover stretched over a working head. That distinction matters because the print becomes part of the head itself, so the finished piece still plays like a drum head.
For a lot of drummers, the first use case is gifting or stage identity. A printed kick head can carry a band logo, a teaching studio name, a school mark, or a milestone graphic, and it changes the way the kit reads the moment it is set up. The same piece can feel personal in a practice room and polished under stage lights.
The product evolved as builders moved away from aftermarket decals and stickers. EVANS describes its custom bass drumheads as using a high-resolution printing system that places photo-quality images directly onto the film without compromising sound, and industry guidance also treats the print as part of the manufacturing process rather than a removable overlay EVANS custom drumheads. That is why this category works for live performance, studio branding, and promo photography instead of sitting in novelty merch territory.
What that means in practice
Direct printing opens up the artwork choices. Current workflows commonly accept JPG, PNG, SVG, PDF, and vector files, so a buyer can use a logo, a photo, an illustration, or a clean type layout without being locked into one-color screen printing. A live proof stage also helps match the online mockup before production starts, which is useful when the head needs to look right on the first show.
Typical custom heads are made from durable synthetic films such as Mylar, chosen for a balance of toughness and sound quality Mylar-based custom drum heads. That means the buyer gets a working drum head with a printed face, not a poster on a hoop. The practical test is simple, it needs to survive transport and still feel like a drum head, or it is the wrong product.
A direct-printed head gives the designer more freedom, but it also raises the bar. If the image is too busy, the extra detail just becomes clutter on stage.
Choosing Between Batter and Resonant Heads and the Right Size
If the head is going to be a gift or part of a stage setup, the first call is side, then size. That order keeps the purchase grounded in how the drum will be used, because the wrong side affects visibility and mic access, while the wrong diameter will not fit. A resonant head and a batter head can both carry artwork, but they do different jobs on the kit.
A printed resonant head is the cleaner choice when the graphic needs to face the room. That is the side the audience sees most often, so it fits touring bands, worship teams, and school programs that want the logo out front without fighting the hardware. A printed batter head makes more sense for a personal kit or studio branding setup, where the drummer wants the image on the playing side or wants the visual to show up in recording photos.
Sizing only gets messy when people guess. Measure the drum first, then order to that size. One custom workflow offers bass drum heads from 16 inches to 32 inches, and the common kick sizes in the broader market are 20 inches, 22 inches, and 24 inches size and turnaround guide. That range fits most gigging kits, marching setups, and oddball builds without forcing a buyer into a near match that never really fits right.
If the drum size is unclear, the drum head sizing guide is the place to verify it before files get sent.
Choosing the right setup
| Setup | Best For | Common Size | Port Placement |
|---|---|---|---|
| Front resonant head | Touring bands, worship teams, school branding | 20″, 22″, 24″ | Plan it around the graphic and the mic |
| Batter head | Studio branding, personal kits, special presentation setups | 20″, 22″, 24″ | Usually less important visually |
| Oversized or specialty build | Marching-style or custom visual installs | 16″ to 32″ | Depends on the drum layout |
Port placement matters most on the resonant side because the cutout changes where the design can live. A left, right, high, or low port can all work, but the choice should follow the stage plot and mic position, not a random template. If the print house is part of the decision, the order goes smoother when the buyer knows how to choose a custom drum head printing company before approving the artwork.
The common mistake is ordering by image first and drum size second. A strong design on the wrong diameter still looks off on the kit, and the correct size with poor layout still feels awkward in photos. The better purchase starts with the drum itself, then builds the artwork around it.
Designing Artwork That Actually Looks Good on Stage
A kick head is a distance read, not a phone wallpaper. That means the artwork has to survive real viewing conditions, which usually means quick glances from the crowd, harsh stage lights, and camera cropping in promo shots. The designs that hold up best are the ones with a single strong idea, not a pile of tiny details.
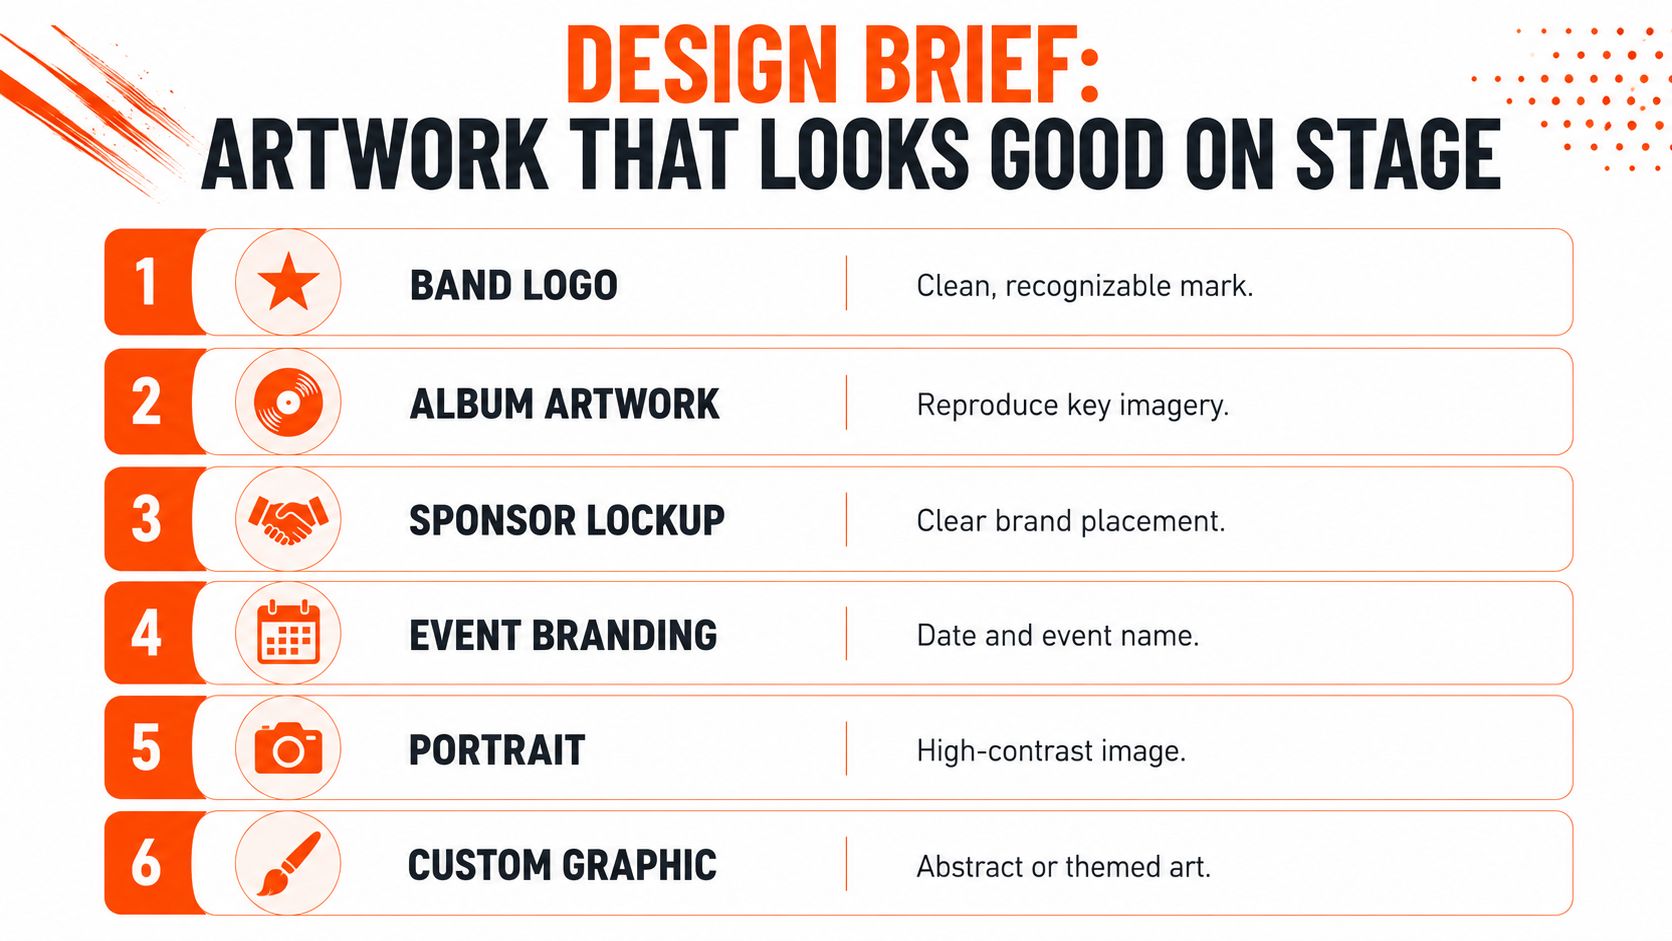
The safest categories are usually band logos, album artwork, sponsor lockups, event branding, portraits, and clean type-only designs. A bold band mark or a strong title works because the eye can read it fast. Dense illustrations, fine background texture, and tiny copy often look great on screen and then fall apart on a 22-inch drum from a few steps away.
File prep that saves the print
Vector artwork is the cleanest route for logos and typography. A PDF, SVG, or EPS file keeps edges sharp at any size, which is why it’s the right choice for marks that need to stay crisp on a large circle art specifications. Raster art can still work, but it needs to be built at the final print size at 300 DPI minimum so it doesn’t soften when enlarged art specifications.
That’s also where most bad print files fail. A logo saved from a social media post can look fine in a folder and still blur on the drum, while a proper vector version stays tight. Small low-contrast elements are risky because they disappear fastest on a dark stage, especially when the audience is not standing right in front of the kit.
A practical rule set helps:
- Use vector for logos and type: It keeps hard edges clean.
- Use 300 DPI raster at final size: It gives photos and painted art the best chance of printing well.
- Avoid tiny pale details: They vanish at stage distance.
- Keep the main mark simple: One strong idea prints better than five weak ones.
The custom graphics guide is useful when the design needs to move from “cool idea” to a print-ready layout. That’s the point where a bandmate, designer, or artist can stop guessing and start building something the audience will recognize.
Mic Ports, Stage Visibility, and Designing Around the Front-of-House Mix
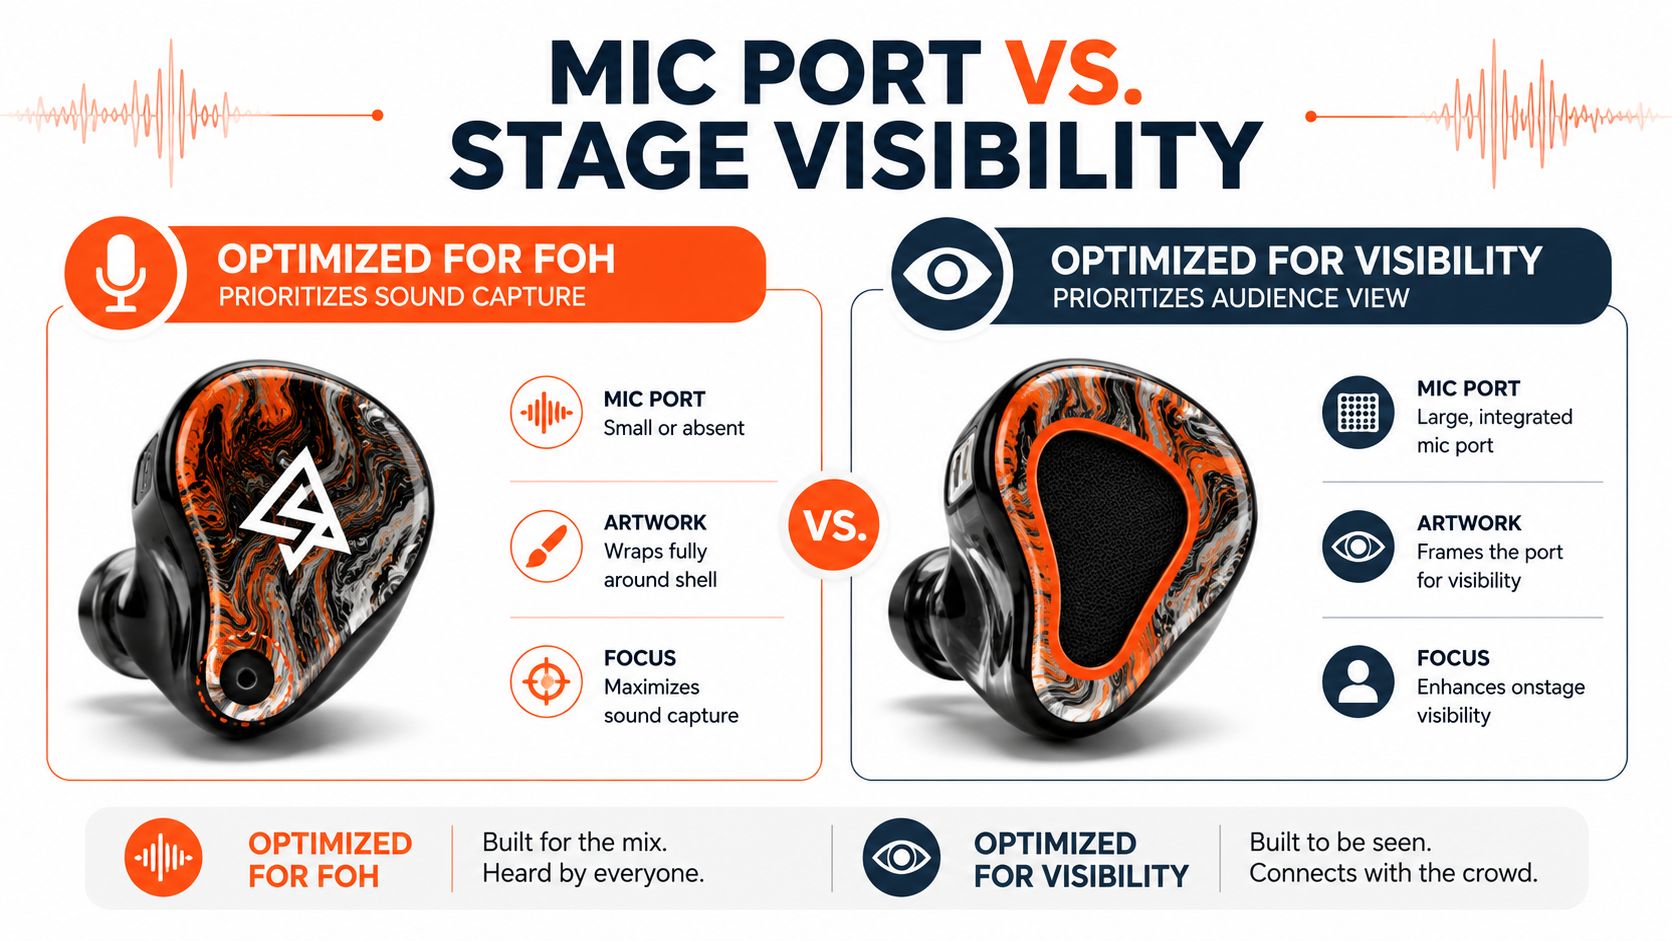
The mic port is not a hole you deal with later. It changes how the head reads from the room, and it changes how the front-of-house team gets the kick sound they need. On a custom head, the port is part of the design layout from the start, not an afterthought.
The trade-off is simple. A head optimized for stage visibility can use a larger or more obvious port area, frame the opening cleanly, and still keep the logo readable. A head optimized for FOH capture can keep the artwork wide and centered while leaving the port zone unobtrusive so the mic can do its job without fighting the graphic.
How to avoid the common layout mistake
The biggest mistake is placing the most important part of the image where the port will cut through it. If the band name sits too low, or a portrait face lands behind the cutout, the design stops working the moment the head goes on the drum. A better layout gives the port clear space and keeps the main visual away from that area.
This is why the best design is not always the most detailed one. Touring rigs, worship setups, and studio kits often need a head that survives changing mic positions and different stage plots. A left, right, high, or low port can all be valid, but the layout should respect how the kit is used instead of chasing a symmetrical mockup that looks good only in a browser.
For tuning and port-related placement decisions, the drum head tuning guide is a useful companion because the head has to serve both the look and the sound. The takeaway is practical, keep the core graphic readable first, then build around the port. That order saves buyers from paying for a beautiful design that doesn’t function on stage.
Port rule: the cutout should support the design, not interrupt the part people need to read.
Gift and Occasion Ideas That Land Every Time
A custom kick head works best when the gift matches the moment. For a drum-line senior, graduation is the obvious fit because the head can carry the school mark, the student’s name, or a clean class-year graphic that looks good in photos and in a practice room. For a drum teacher, an end-of-year head with the studio name or a simple thank-you layout feels thoughtful without becoming cheesy.
Bands usually get the easiest win. An album-release head, an anniversary head, or a tour graphic can all use the same formula, a strong logo, one meaningful title, and enough open space to keep the art readable. What to avoid is trying to fit every song, every inside joke, and every social handle onto one circle.
Worship teams often do better with event branding than with a crowded logo stack. A series title, a service theme, or a concise ministry mark tends to read cleanly from the room and from a livestream camera. Session players and home-studio drummers usually prefer a personal brand mark or a tasteful type-only layout because it looks intentional in content shoots without shouting.
A few proven directions
- For a band: Use the main logo or album title.
- For a teacher: Use the studio name, a class year, or a short thank-you.
- For worship: Use a series name, service title, or ministry logo.
- For a hobbyist: Use a nickname, favorite graphic, or milestone date.
- For a session player: Use a minimal mark that works on camera.
The nice part is that the print workflow supports tight timelines better than a handmade custom build usually can. That makes a custom head realistic for a birthday, a release show, a graduation, or a last-minute event gift. The buyer doesn’t need a huge concept, just a clear visual that belongs to the person receiving it.
Ordering, Turnaround, and How the Head Holds Up Over Time
A custom bass drum head usually gets ordered the same way every time: upload the art, review the proof, approve the layout. That proof stage is where the critical work happens, because a small spacing problem, a crop issue, or a port that sits too close to the logo can still be corrected before anything is printed. It matters most when the design has text, a centered mark, or a cutout that needs to land in the right place on the shell.
Turnaround is one of the main reasons drummers treat a personalized head like normal gear instead of a novelty. The turnaround and ordering guide notes that once the design is approved, production takes a few business days, shipping adds 3–7 days for U.S. delivery, and the whole process usually lands at about 1–2 weeks total from concept to a finished head on the kit. That kind of timing works for a birthday gift, a release show, a school event, or a worship rotation where the head has to be ready without a long lead time.
A good print workflow also keeps the buyer from guessing about fit. If the artwork is being made for a specific drum, the how to choose a custom drum head printing company question should include proofing, file handling, and size checks, not just price. The practical trade-off is simple, a fast order still needs clean files and a clear layout, or the design looks rushed even if the turnaround was quick.
Durability is the other thing worth checking before checkout. Direct printing avoids the problems that come with stickers and surface overlays, so there is no edge to peel and no film to bubble when the head gets hauled in and out of cases or lit hard on stage. The test is not whether the graphic looks sharp on day one, it is whether it still looks clean after repeated setups, tear-downs, and shows.
Custom Bass Drum Head handles that workflow in one place, with artwork upload, port placement, previewing, and ordering built into the process. For a drummer, that makes the decision easier. The gift or stage piece is not finished until the design, the size, and the mockup all make sense together, and the final order matches the kit it is meant for.