
A drummer pulls a faded logo decal off a bass drum head after a run of shows, then notices the ugly part only after the vinyl is gone. The head still plays fine, but the finish has a cloudy patch, a sticky halo, or a clear spot where the coating lifted with the adhesive. That’s the problem with bass drum decal application and removal, the look can sell the band for months, then punish the head when the job is done.
The tricky part is that drum heads are not flat display panels. They’re tensioned surfaces, they flex under load, they sit under hot lights, and they’re often coated or textured in ways that make solvent cleanup a finish-specific decision. Bass drum branding has a long history, from painted pipe-band heads and scenic artwork to early shield logos on major drummers’ bass drums in the 1920s, so the desire for a branded head isn’t new. What’s changed is that a printed head can now give the same visual impact without the adhesive gamble. A useful reference point for deciding whether a worn head should even stay in service is when to replace a bass drum head.
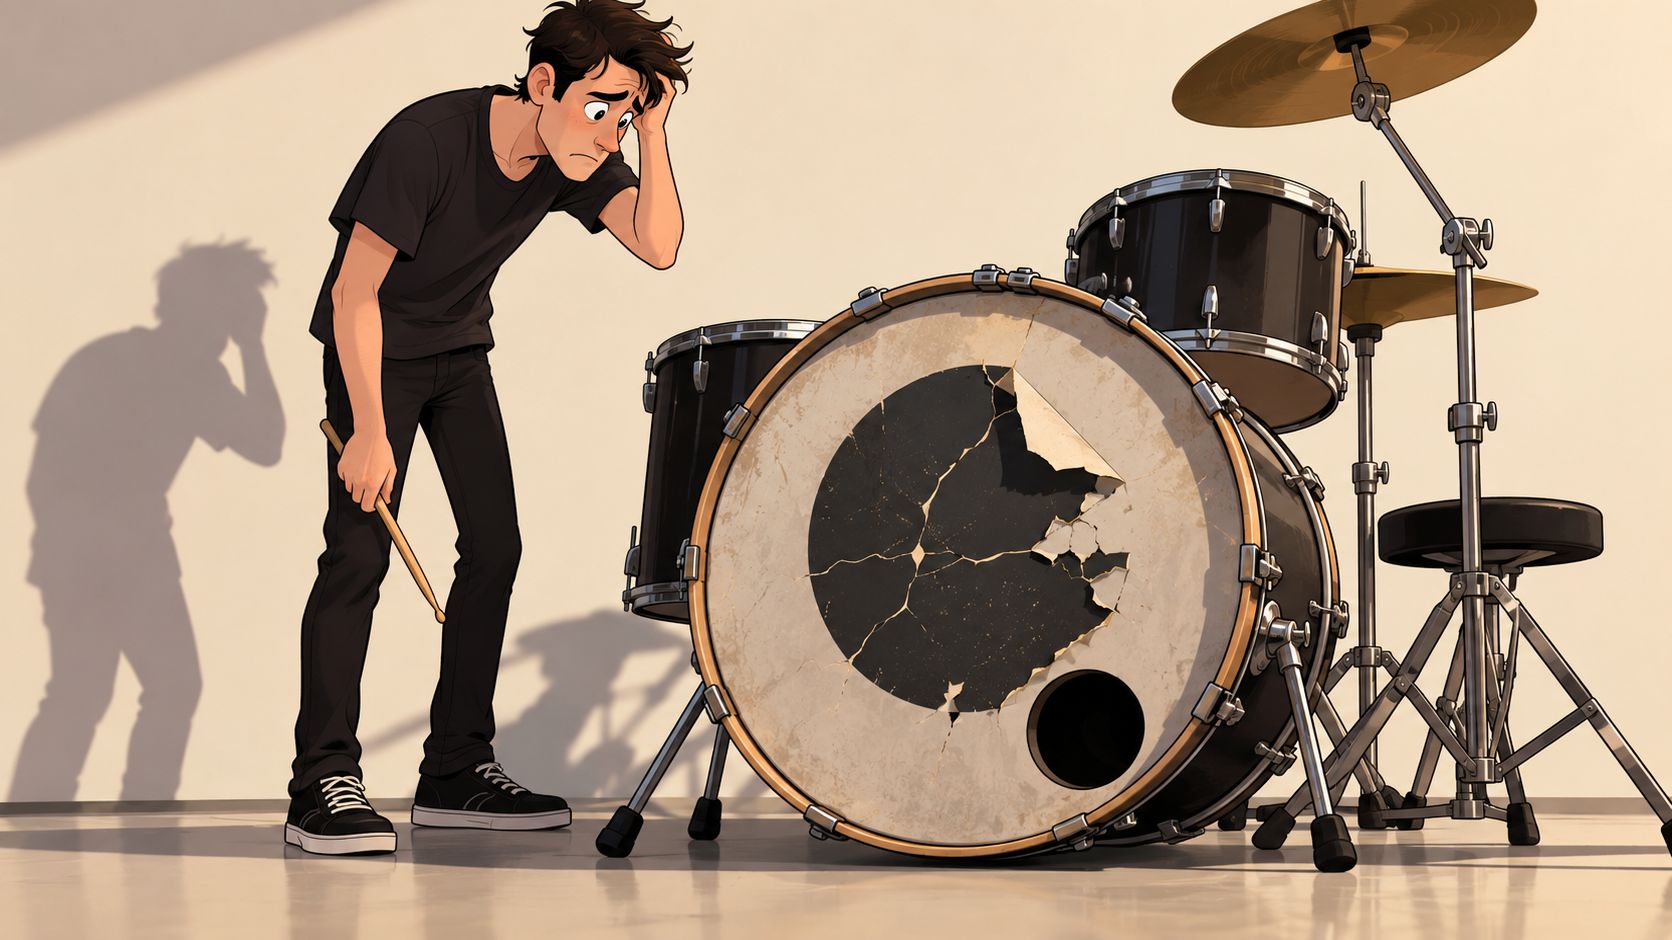
Why Decals Damage Drum Heads More Than You Think
A bass drum decal looks harmless until the head has lived through a few rehearsals, a humid load-in, and a stretch of stage lights. The vinyl can lift at the edges, trap air, or leave a residue ring that’s obvious the moment the logo comes off. On coated heads, the hazard isn’t just sticky leftover adhesive, it’s the coating itself, because some removers can strip it and leave a permanent clear patch.
That’s why drum heads behave differently from glass, painted steel, or a car door. A drum head is already under tension, so the surface isn’t just curved, it’s also working against any adhesive that wants to grip evenly. When the decal ages, that same tension can make removal uglier, especially if someone tries to yank it cold or scrape too aggressively.
Practical rule: if a logo is meant to stay on for a short run, a decal can work. If it has to survive real touring, the removal risk becomes part of the purchase decision.
The history matters because it shows the instinct is legit. Bass drum branding has been around for more than a century, from painted names and scenic artwork to the branded graphics that drummers were already using by the 1920s in major music markets, as documented in a 2023 industry interview about bass drum art’s evolution (The Drum Click). The problem isn’t the idea of branding, it’s relying on a temporary adhesive solution when a permanent print would avoid the cleanup altogether.
For anyone deciding whether to commit to a decal or move straight to a custom-printed head, the question is simple. Is the logo worth the chance of finish damage on the way off? If not, the smarter long-term answer is to design the artwork into the head itself instead of applying it after the fact.
Preparing the Drum Head Surface for a Decal
The prep sequence that holds up is simple, but each step matters. Wash the head with soap and water first, dry it completely, then wipe the surface with 70%+ isopropyl alcohol to clear wax, oils, and silicone residue before any vinyl touches the head (Stickafix vinyl application guide). Skipping the alcohol wipe is how good-looking decals start lifting at the corners.
Start with a clean, dry, stable surface
Soap and water remove the dirt you can see. Alcohol handles the stuff you can’t, like the residue from hands, cases, and cleaners that make adhesive fail in patches. A head that still feels cool or slightly damp after cleaning is not ready, because hidden moisture can turn into bubbles once the decal is pressed down.
Temperature matters just as much. Professional vinyl guidance keeps application in a stable range, typically above 55°F and often between 50 and 90°F, so the film doesn’t stretch or refuse to bond properly (Stickafix vinyl application guide). A cold winter dock makes the adhesive sluggish, while a hot head under lights can make the film behave too loosely and lock in a bad placement.
If the room is less than ideal, give the head time to acclimate before the decal goes on. Backstage heat from gear cases or stage lights can make a head feel ready when it’s still too warm for a clean placement. For broader kit prep, a cleaning routine like how to clean a drum set helps keep the head surface free of residues that sabotage adhesion later.
Let the surface tell the truth. If it’s not fully dry and reasonably stable in temperature, the decal is already working against you.
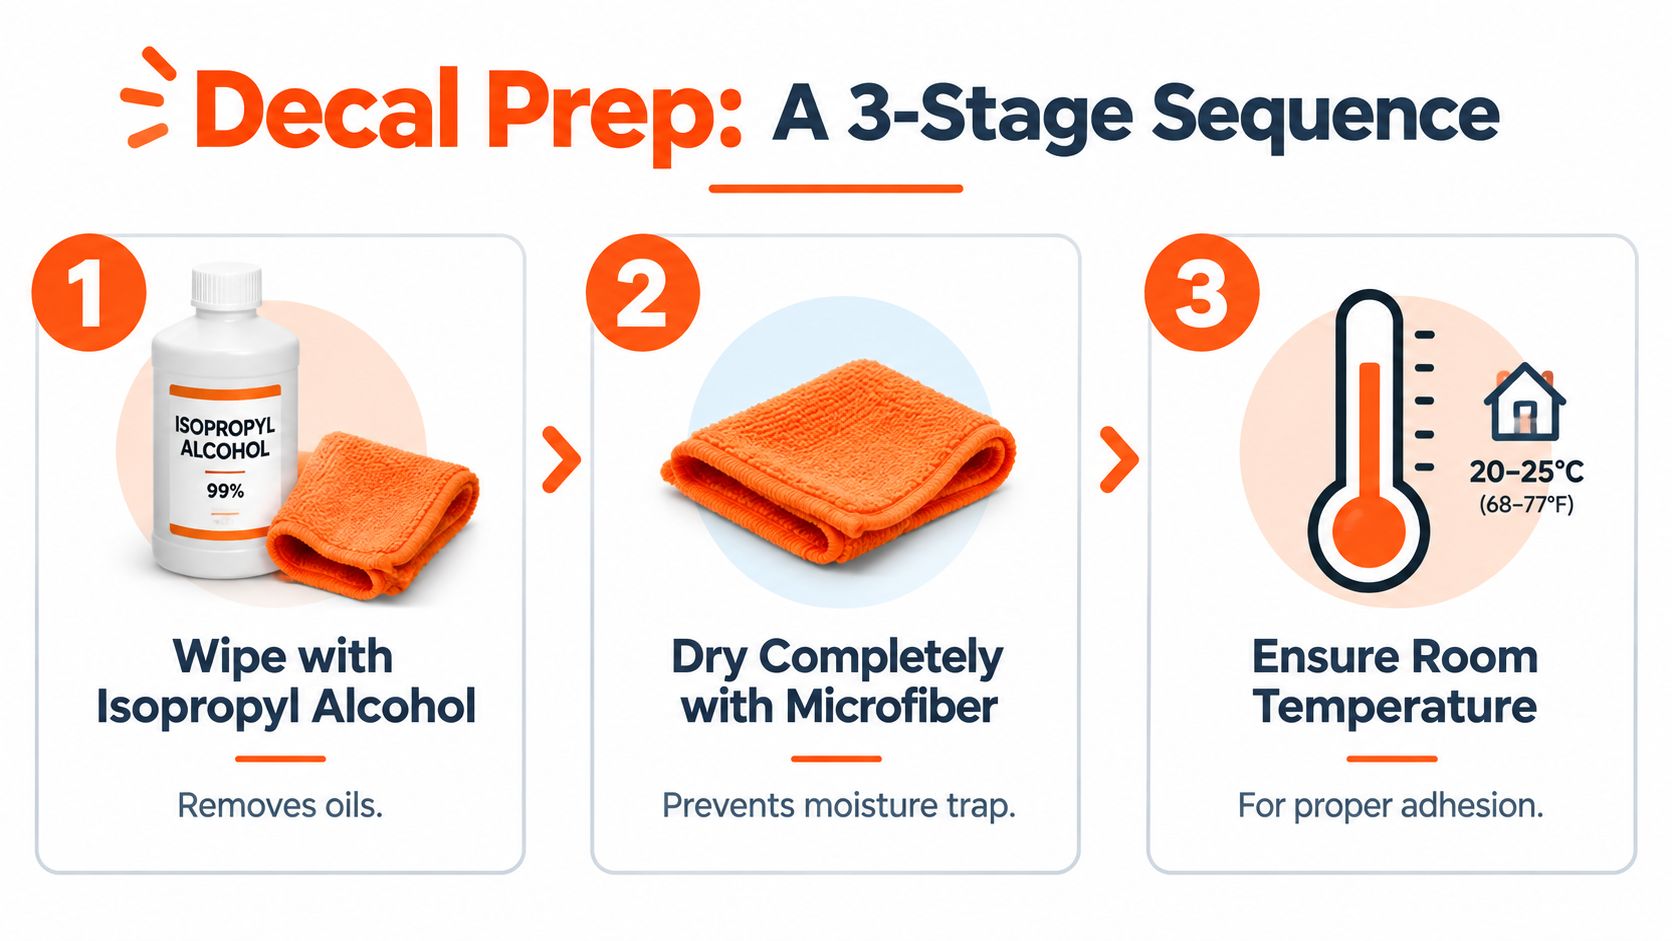
For players cleaning a head backstage, microfiber cloths are the safest final step before placement. The cloth shouldn’t leave lint, and it shouldn’t be used to rush the job. A dry, clean, properly tempered head gives the adhesive its best chance of staying flat through transport, setup, and the first sweaty soundcheck.
Applying the Decal Without Bubbles or Stretching
Placement goes wrong when the decal is treated like a sticker for a flat box instead of a graphic for a curved, tensioned head. The cleanest approach is to position the artwork first, check the alignment from a few feet back, then commit slowly from one edge or center point rather than dropping the entire piece at once. Transfer tape helps keep the print aligned, and fingers should stay off the adhesive side as much as possible.
Work the graphic, not the air
A squeegee or burnishing tool should push air outward in overlapping passes, not stab at one corner and hope for the best. If a bubble appears mid-application, stop, lift only enough to release the trapped air, then lay the film back down and re-squeegee it. Dragging a bubble across the surface usually stretches the art or makes the adhesive wrinkle.
Mic ports change the job because the hole interrupts the graphic. For bass drum heads that need internal mic access, the opening should be planned before the print or decal layout is finalized, not treated as an afterthought. One practical placement guide says an inside kick mic often starts about 1 to 3 inches inside the resonant head, while an outside position is often 2 to 6 inches off the batter head, which is exactly why the artwork layout should respect the recording setup, not fight it (microphone placement guide).
If the decal is being used on a head with a mic port, the cleanest workflow is to map the port location first, then trim with patience so the film doesn’t tear at the edge. Large vinyl graphics on taut heads also raise a real trade-off. Mounted heads are easier to align because the final playing surface is already under tension, but detensioned or removed heads can be easier to handle during placement and trimming.
A decal that looks perfect from three feet away but traps a wrinkle at the port isn’t a clean install. The port edge is where rushed jobs usually show themselves.
For readers comparing branding methods, a helpful outside reference is design tips for sticker marketing, especially for thinking about contrast, legibility, and where a logo needs breathing room. For a drum-specific route, a custom bass drum decal can work as a temporary brand layer, but the head still carries the same removal risk later.
Removing Decals Safely with Heat and Proper Technique
Removal starts with patience, not force. Drum-specific guidance says to lift an edge with a fingernail or credit card and peel slowly, and removing the head first can make access easier (bass drum logo removal guidance). On aged graphics, the safer approach is to warm the full decal, not just a corner, so the adhesive lets go evenly instead of tearing in strips.
Heat the vinyl, then peel slowly
Authoritative removal guidance for pressure-sensitive decals recommends heating the graphic with a heat gun held about 15 to 30 cm away for roughly 30 to 60 seconds, then peeling at less than a 90° angle (Avery Dennison removal bulletin). Another bulletin notes that self-adhesive films are commonly heated to about 50 to 60°C before peeling at a 60° to 90° angle, while stubborn decals may need hot water at a minimum of 74°C and at least 2500 psi for the residue stage, with some residue requiring an additional 3 to 5 minute treatment before pressure-washing (Avery Dennison decal removal bulletin).
Those thresholds matter because cold peeling is what tears film and leaves glue behind. If a section resists, stop and reheat it instead of forcing the vinyl off in one pull. Heat guns should stay moving, with no long dwell on one spot, because the goal is to soften adhesive, not cook the Mylar.
For heads that have had a graphic on them for months or years, expect the adhesive to behave differently than a fresh install. The longer the bond has aged, the more slowly the film should come off. That’s where the old habit of yanking at a corner ruins heads that could have been saved.
What to do when the decal fights back
If the graphic is still stubborn after reheating, the safest move is usually to pause and change the angle rather than increase force. A lower peel angle gives the adhesive a better chance to release cleanly. The head should never look glossy or warped from the heat, because that means the surface is being pushed past the point of safe removal.
Stop when the vinyl resists. Reheat, peel a little more, then stop again if needed. Clean removal is slower than bad removal.
After the decal is off, residue cleanup becomes the next decision. That part depends heavily on finish, which is where a lot of heads get ruined in the name of speed.
Cleaning Adhesive Residue Without Ruining the Finish
Residue is where a drum head can go from “logo removed” to “looks obviously abused.” The same solvent that clears one head cleanly can haze another, and coated heads are the most likely place where the wrong choice leaves a visible patch. Stage lighting makes every leftover film easier to see, especially when the room looked fine in rehearsal.
Match the solvent to the finish
Community advice often reaches for acetone, Goo Gone, Goof Off, WD-40, citrus oils, lighter fluid, or alcohol, but those choices are not equal on every finish (vintage drum forum discussion on logo removal). The important distinction is between coated heads and clear or smooth heads, because acetone can strip coating while gentler removers are described as safer for preserving the finish (drum decal install notes).
| Solvent | Coated Heads | Clear/Smooth Heads | Residue Risk |
|---|---|---|---|
| Acetone | Risky, can strip coating | More workable with care | High |
| Goo Gone | Often gentler | Usually workable | Moderate |
| Goof Off | Strong, use cautiously | Can be effective | Moderate to high |
| WD-40 | Can leave film | Can leave film | Moderate |
| Citrus oils | Usually gentler | Usually workable | Moderate |
| Lighter fluid | Use carefully | Can help on stubborn adhesive | Moderate |
| Isopropyl alcohol | Safer first test | Safer first test | Lower, but may need repeats |
The safest workflow is to test any solvent in an inconspicuous area first, then clean in small passes instead of flooding the head. If the head is coated and the residue is stubborn, the lesser evil is usually multiple gentle passes rather than one aggressive one. A soft cloth can help, but abrasion can turn a residue problem into a sheen problem.
For those comparing cleanup methods, a broader guide on clean vinyl residue safely is useful as a starting point, but drum heads need even more caution because the finish is part of the instrument’s look. After cleanup, a light buff with a clean cloth can help restore a more even appearance, though it won’t repair coating that’s already been stripped.
A practical rule saves a lot of grief. If the residue is only visible under angled light or camera flash, it’s still there, and it will show up on stage sooner than expected. For ongoing upkeep around the kit, caring for your drum set helps keep finish-safe habits front and center.
The Smarter Alternative with Custom-Printed Drum Heads
A custom-printed head removes the whole adhesive problem before it starts. There’s no vinyl edge to lift, no bubble to chase, and no solvent cleanup waiting at the end of the run. The artwork goes directly onto the head, which means the branding is part of the surface instead of sitting on top of it.
That’s the practical reason many bands move from decals to print once the logo becomes recurring. A touring group that wants the same front-of-kit look every night doesn’t need a temporary layer that might peel in transit. Worship teams with rotating volunteers and studio drummers who want a clean video-ready look benefit from the same thing, a consistent graphic that doesn’t depend on who installed it last weekend.

The ordering process is built around the artwork, not around adhesive guesswork. Files can be uploaded in common image and vector formats, a live mockup shows the layout before anything prints, and mic port placement can be set for the kit instead of adjusted after the fact. Sizes run from 16 to 32 inches, which covers a wide range of front-head setups, and the printing workflow is designed for custom graphics rather than sticker-style overlays (custom bass drum head printing).
Decals may look cheaper at checkout, but the cost shows up if the head gets scuffed, stripped, or left with a finish patch that makes it look old before its time. A printed head avoids that whole second expense. For anyone building a permanent brand on the kick drum, the cleaner decision is usually to print the logo into the head once and stop worrying about removal later.
Custom Bass Drum Head prints photo-quality custom heads for bands, teachers, churches, and studio players who want the graphic built into the drum instead of applied as a sticker. Upload the artwork, review the mockup, and choose the size and mic port layout that fit the kit. Visit Custom Bass Drum Head to start a design that looks clean on stage and doesn’t leave residue behind when the show’s over.