
A band booster usually doesn’t start with a grand branding strategy. The starting point is a scuffed front head, a mascot decal that’s curling at the edges, and a deadline that’s way too close to the next game or competition.
That’s why a school logo bass drum decal keeps coming up. It’s practical. It can be updated seasonally or annually without the cost of replacing full heads. It gives a program a way to put a clean mascot mark on the field fast, without turning every visual refresh into a full hardware purchase.
The mistake is treating decals and printed heads like the same thing. They aren’t. Schools have to deal with trademark approval, official color standards, student installs, travel abuse, mic ports, and weather. A decal can be the right answer. It can also be the wrong answer if the head is ported, heavily transported, or expected to look perfect for more than one cycle.
The Decision Every School Program Faces
The common scene is simple. Last season’s logo is coming off. The head underneath is still usable. The director wants the program to look official. The booster budget wants a cheaper path. The drumline just wants something that won’t peel before the important performance.
That’s where most schools land. They don’t need abstract advice. They need a decision that survives rehearsals, buses, gym floors, parking lots, and outdoor shows.
What schools are actually deciding
There are really three questions behind every school logo order:
- Which format fits the job: removable decal, permanent decal, or full printed head
- How to keep the logo official: correct mascot art, correct layout, correct approved mark
- How to avoid failure points: edge lift, color disappointment, and bad port placement
A lot of schools lean toward decals first, and for good reason. They give budget flexibility, they’re easier to update when a school wants a refreshed mascot or event-specific design, and they can be applied by staff or capable students without replacing the entire head.
Why this decision matters more than it seems
A bass drum logo isn’t a tiny detail. It’s one of the biggest branding surfaces a school program has. Large-format school drum graphics have been doing that job for a very long time. Purdue’s World’s Largest Drum was commissioned in 1921 at a cost of about $800, or roughly $11,838 in today’s money, which makes the point clearly: big drum visuals have been part of school identity and spectacle for more than a century (historical marching drum branding example).
Practical rule: Schools shouldn’t ask, “Can a decal work?” They should ask, “Which option fits this exact drum, this season, and this approval process?”
Auburn University’s marching band is another useful example. Its bass drum identity used early in-house decals, and the familiar Eagle-A design was developed in 1974 and stayed in use until 2017, giving the program more than four decades of visual consistency on bass drums (Auburn bass drum branding history).
That kind of consistency doesn’t happen by accident. It happens when the artwork, surface, and production method all match the use case.
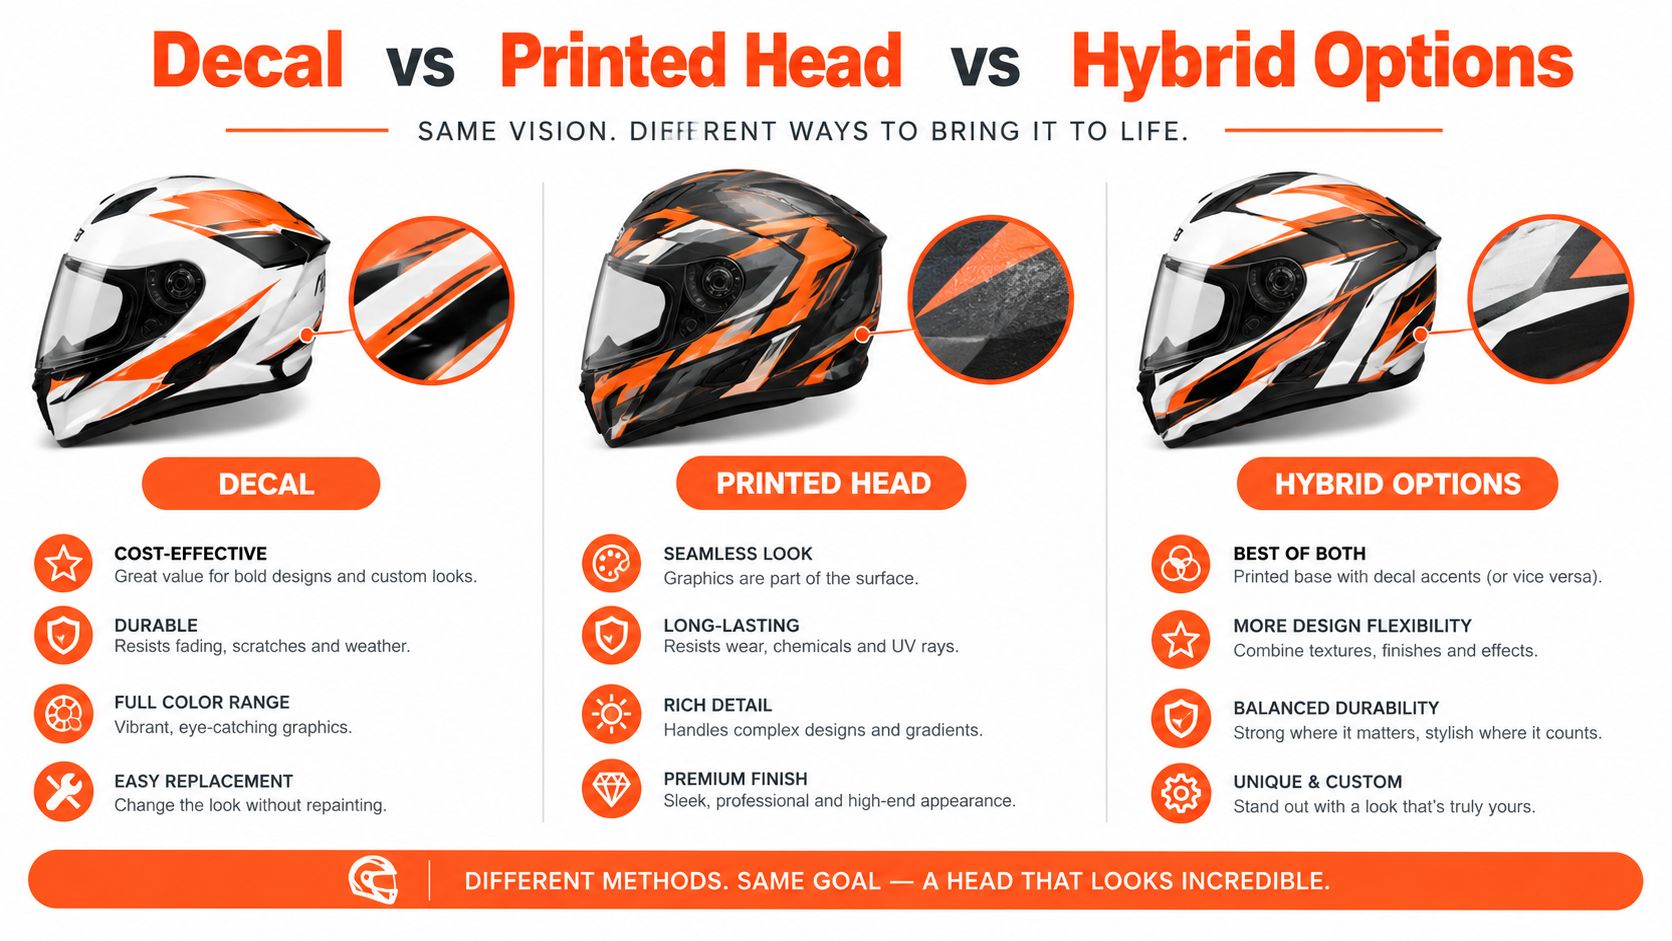
Decal vs Printed Head vs Hybrid Options
Friday night. The trucks are unloaded, the bass line is on the track, and the front logo has to look clean from the stands. That is when a bad choice shows up fast. A peeling edge, a logo slapped over an old port, or colors that looked fine on a laptop and wrong under stadium lights.
Schools should treat this as three separate products with three different jobs: removable decal, permanent decal, and printed head. There is also a hybrid route, but it only works when the program knows exactly which drum is for shows, which one is for pep use, and who is responsible for upkeep.
Removable decals
Pick a removable decal when the logo may change, the head is still in good shape, and the budget does not support replacing the full front head. It is the practical choice for event branding, seasonal updates, and programs that switch between different visual setups.
It is also the easiest option to get wrong.
Removable decals fail early on dirty heads, heavily textured surfaces, or drums that get grabbed by the front every time they come off the truck. If your students stack drums face-to-face, drag carriers into trailers, or leave equipment baking in the sun after rehearsal, expect shorter life and more edge lift.
Permanent decals
Permanent decals make sense for schools that want the lower cost of a decal but need more hold than a removable graphic can give. Applied well, they sit flatter, hold cleaner edges, and survive handling better.
The trade-off is obvious. Removal is slow, residue is common, and a rebrand turns into labor. If your district is reviewing mascot changes, your athletic department is updating marks, or your licensing approval is still unsettled, do not lock yourself into a permanent decal yet.
Printed heads
Printed heads are the right answer when the front head is part of the uniform look, not just a label on the drum. You get art built for the exact diameter, cleaner registration, and better planning around ports, negative space, and reading distance. That matters more than schools expect.
Printed heads also remove a lot of the installation risk. Nobody is trying to center a giant sticker in the band room the night before a game. For programs comparing production methods, this explanation of screen printed and direct printed drum heads is worth reading before you approve artwork.
Hybrid options
The hybrid approach is simple. Use a printed show head for games, competitions, and photos. Use a decal on a separate head for pep events, short-run themes, sponsor nights, or years when the mascot art is still being revised.
This is usually the smartest setup for larger school programs.
It gives directors room to handle licensing delays, art revisions, and replacement cycles without sacrificing the polished look on performance day. It also keeps your expensive presentation head out of situations that destroy graphics fastest, like parade loading, indoor storage piles, and student-installed swaps.
That same logic shows up in smaller heritage graphics too. The shop Ludwig auto decal example is a reminder that decals are great when the use period is clear and the surface is right. They are not magic. They are a tool.
Pick the option your staff can maintain for a full season, not the one that only looks cheaper at checkout.
Getting Your Mascot Into a Print-Ready Vector
Most ordering problems start with bad art, not bad printing.
A school sends a website screenshot, a phone photo of a banner, or a cropped logo from an old PDF. Then the mascot looks soft, the outlines break up, and tiny details disappear once the design is enlarged on a full head.
Start with the people who control the mark
Before anyone redraws anything, the program should ask the right people for the official file and usage rules.
Good first stops are:
- Athletic department staff: They often have the approved mascot lockup already packaged for uniforms and signage.
- District communications office: They may control official wordmarks, spacing rules, and color standards.
- Art department or design volunteer: They can help recreate a clean file if the original has gone missing.
- Freelance illustrator: Useful when the school has only low-grade art and needs a proper rebuild.
This part matters even more for colleges and universities. Trademark offices often require approved licensed vendors, design review, and restrictions on certain marks. USC, for example, limits use of several athletic and band marks and forbids alterations to iconic logos (campus trademark and logo restrictions).
Vector first, always
Providing artwork in vector format (AI, EPS, or SVG) ensures the sharpest reproduction of mascot details. That’s not design snobbery. It’s production reality.
Vector files such as SVG, AI, EPS, and press-ready PDF scale without losing detail, while raster files like PNG, JPG, and TIFF need to be built at 300 DPI at final print size to stay sharp when enlarged (vector vs raster artwork guidance).
For schools preparing files, this guide to artwork for custom drum head printing is the right starting point.
What the printer should receive
A school that wants a smooth proof process should hand over:
- The vector master file: AI, EPS, or SVG first. Press-ready PDF works if it contains vector art.
- Official color values: Pantone if available. If not, RGB or other brand-reference values from the style guide.
- Exact drum diameter: The art should be built for the actual print size, not guessed from a preview.
- Clear-space rules or trademark lines: If the school requires them.
- Approval contact: One person who can say yes and avoid email chaos.
Bad mascot art doesn’t get fixed at the printer. It just gets enlarged.
Matching Official School Colors Without Surprises
Color problems usually start when a school assumes the website color is the school color.
It usually isn’t. A logo on a school homepage, a sublimated jersey, a printed banner, and a bass drum graphic are all different production environments. If the program wants the drum to look official, the order needs real color references instead of visual guessing.
What schools should provide
The strongest handoff is the official style guide with approved color values. Pantone references are ideal when the school has them. RGB values can still help create a useful target, especially when the brand team doesn’t have a print-focused guide available.
That doesn’t mean any system produces a perfect one-to-one match across every material. Fabric, vinyl, and printed drum surfaces all behave differently, so schools should ask for a proof and judge it against real program materials, not a phone screen.
Where color drift usually happens
| Source | Typical Issue | Fix |
|---|---|---|
| School website logo | Screen color looks different in print | Use official brand values, not a screenshot |
| Jersey or uniform | Fabric printing behaves differently than head or decal printing | Compare against the style guide and a proof, not the cloth alone |
| Old decal | Sun and handling may have shifted the original color | Match from current brand standards instead of the faded sample |
| Social media graphic | Compression and filters distort the color | Pull the original art file from the school, not the posted image |
For more practical examples of how artwork behaves on a head, this gallery of custom bass drum head graphics is useful because it forces the right question: does the color still read correctly at full scale and under field lighting?
The hard truth about metallics and dark heads
Metallic-looking colors, neon shades, and dark-on-dark layouts are where programs get disappointed. A gold from a jersey program doesn’t automatically become a convincing gold on a white or black bass drum surface. Fine lines can also muddy on dark heads if the layout is too busy.
The smart move is conservative design. Strong contrast wins on the field. Clean shapes beat intricate detail every time.
Mic Ports and How Each Option Handles Them
Friday night exposes bad planning fast. The logo looks great in the proof, then the sound crew asks for the front mic hole and your mascot loses an eye, a letter, or the bottom of the crest.
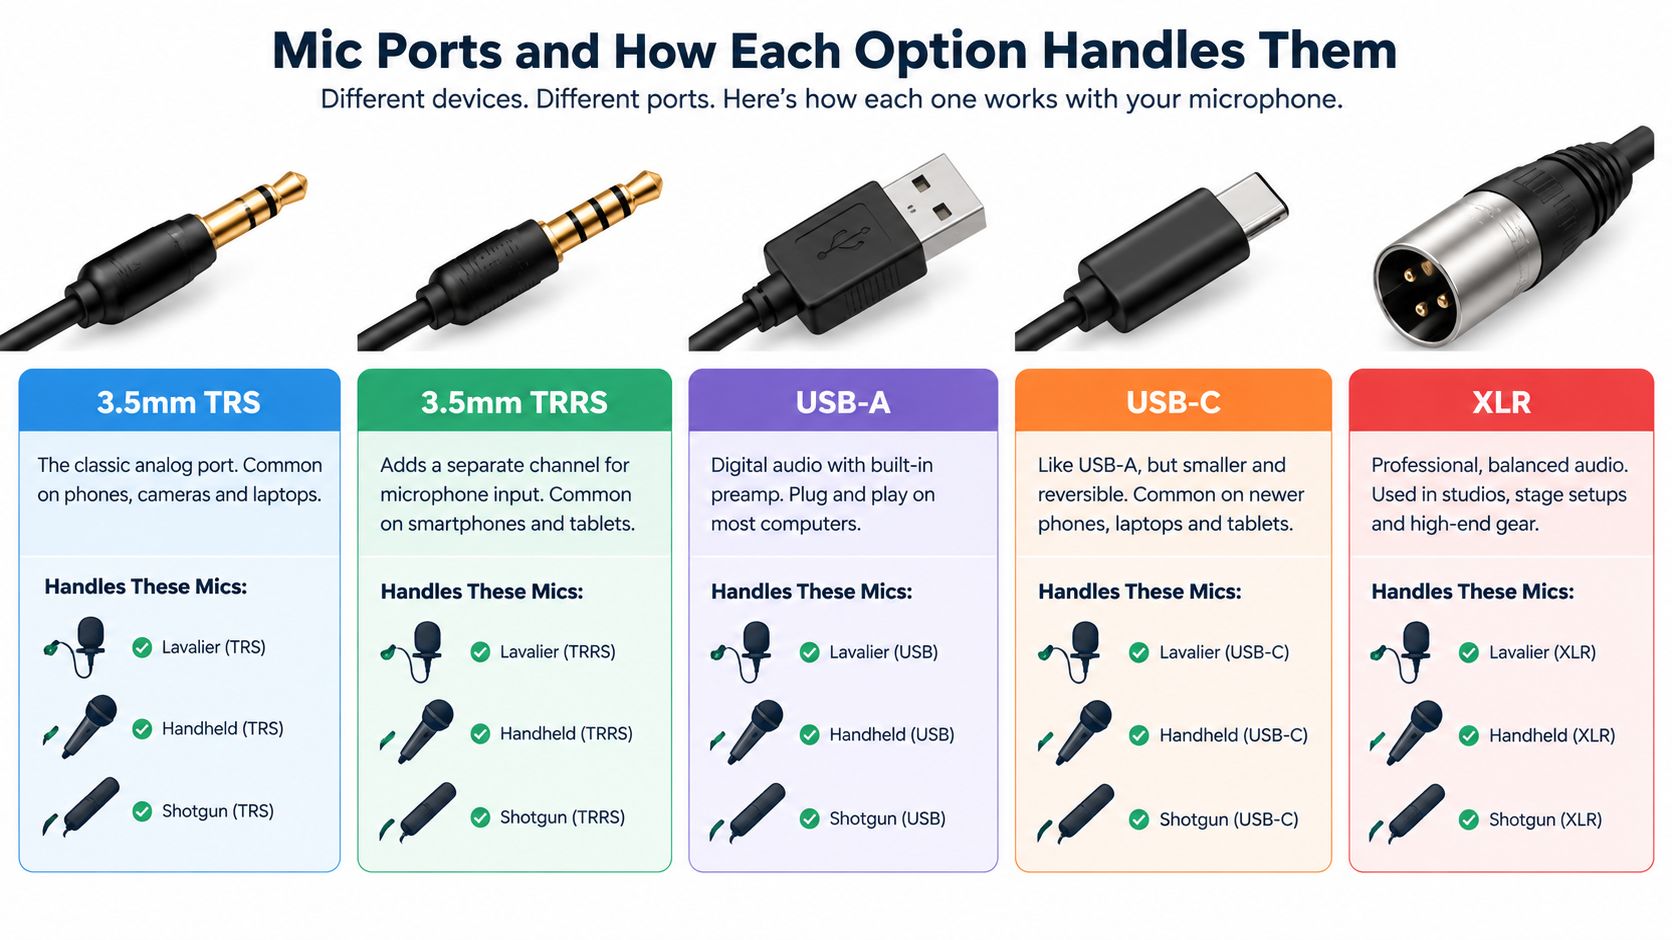
Mic ports usually live on the lower half of the resonant head, often off to one side instead of dead center, as shown in this bass drum port placement reference. So any school mark with low text, a mascot face, or a shield point dropping into that area needs to be composed around the hole from the start.
Here is the blunt recommendation. Decide the port before you approve art.
Schools usually have three real options:
- Removable decal: Fine for short-term use, senior night, or a shared drum. It works if you are willing to trim the port after install and accept that the edge around the cut is the weak spot.
- Permanent decal: Better grip and cleaner long-term appearance than removable vinyl, but the same rule applies. If the port location is wrong, the graphic is wrong.
- Printed head: Best choice when the drum already has a defined port location and the program wants the artwork built around it instead of sacrificed to it later.
The hybrid route also exists. Some programs keep a plain ported head for regular use, then apply a removable decal for photos, parades, or events where they do not need the mic. That setup saves the logo from a permanent cut, but it also means more handling and more chances for install mistakes.
If your program is still sorting out the full front-head setup, bass drum tuning basics are worth reviewing before final art approval because head tension, muffling, and final hardware choices affect how the logo sits and how obvious that port looks on the field.
Custom Bass Drum Head lets schools place the mic port within the design proof before production on custom front heads, with size options from 16 inches to 32 inches and port placement choices on either side, higher or lower. That is the right workflow. Build the art around the drum you use, not the idealized mockup someone approved on a laptop.
Approve port location, then approve artwork. In that order.
How Long a Decal Lasts Outdoors
Friday night game. The drum comes off the trailer, the front head catches sun, and the first thing everyone sees is the logo. If the edges are lifting or the vinyl is scuffed, the whole drum looks tired.
That is the standard. A school decal does not need to last forever. It needs to stay clean through loading, unloading, sideline handling, and weather.
A removable decal usually makes it through a season if the program applies it to the right head, gives it time to bond, and does not abuse it during transport. A permanent decal holds up better than removable vinyl, especially around the outer edge. A printed head lasts longer under repeated outdoor use because there is no adhesive edge to catch dirt, cases, fingers, or weather. That is the trade-off many schools miss. Decals are flexible. Printed heads are tougher.
The head surface decides a lot
Smooth front heads give vinyl the best chance to stay down. Coated or textured surfaces do not. If a school wants a decal on a textured head, they should expect shorter life and a higher chance of edge lift.
Storage matters too. Heat, moisture, and long trailer days wear the perimeter first. Most decal failures do not start in the middle of the mascot. They start at the edge, then spread every time the drum gets handled.
What extends decal life
The schools that get the best lifespan follow the same routine every time. Clean the head well. Apply with steady pressure. Let the adhesive settle before the drum goes back into cases or onto a bus. If your staff needs the process, use this guide on bass drum decal application and removal done right.
Use this standard:
- Install on a smooth, glossy head: vinyl bonds better and stays flatter
- Clean with mild soap and water: leave no dust, polish, or oily residue
- Press from the center outward: trapped air and weak edge contact shorten decal life
- Give it cure time indoors: same-day install before travel is how schools create peeling problems
- Keep the drum out of heat when possible: hot trailers and direct sun punish adhesive edges
Plan for replacement, not permanence
If the program changes logos, rotates seasonal branding, or wants a removable option for events, decals still make sense. Order with replacement in mind and budget for wear.
If the drum is a centerpiece and the logo needs to look sharp week after week, printed heads win. That is the blunt version, and it matches what survives a marching season. Decals are a useful option. They are not the longest-lasting one.
Ordering and Installation Checklist
The fastest way to waste money is ordering before the program has the art, approvals, measurements, and port decision locked down.
A school order should run like a checklist, not a scramble.

Ordering workflow
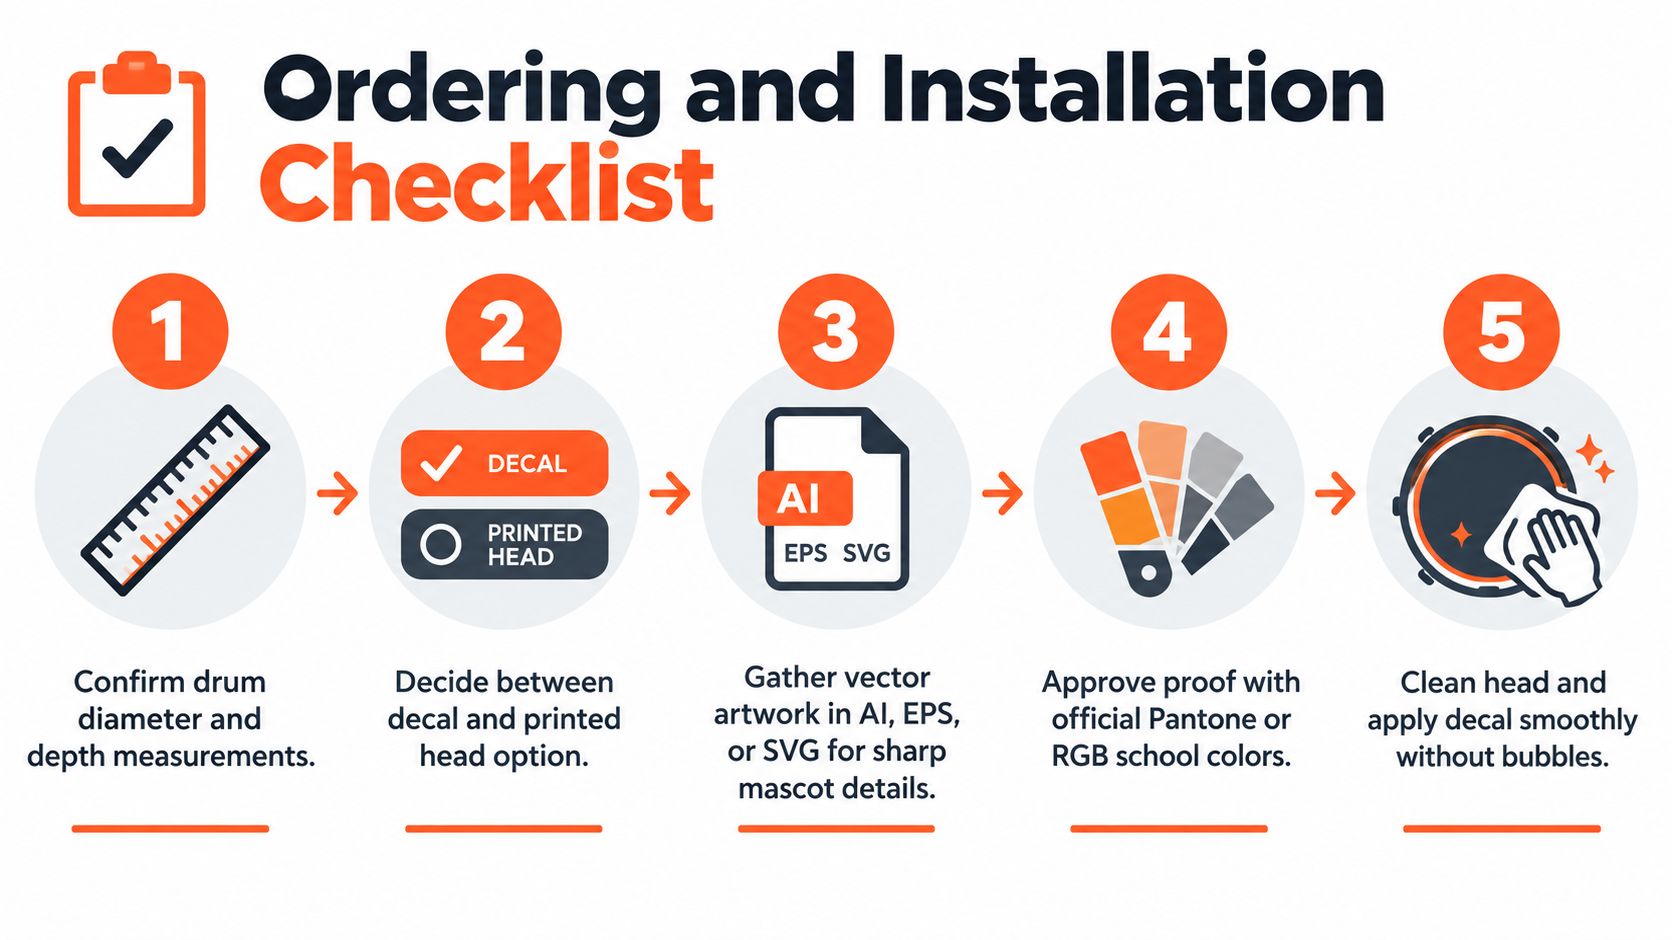
- Measure the actual drum
Confirm the diameter first. If the school is replacing a head rather than adding a decal, match the art to the actual head size. Printed head sizing commonly runs from 16 inches to 32 inches with front or batter options available (custom head sizing FAQ).
- Choose the format
If the school needs annual mascot changes or temporary event branding, a decal makes sense. If the drum is the centerpiece and the artwork needs to stay polished under hard use, a printed head is the stronger choice.
- Gather proper artwork
Vector files first. Approved mascot file second. Official color references third.
- Confirm legal approval
This matters for colleges, district-controlled marks, and schools with tighter branding oversight. Don’t assume the booster club can approve trademark use on its own.
- Define the port before proofing
Don’t leave the cutout as a note for later. Put it in the artwork plan from the start.
Installation workflow
- Clean the surface: Use mild soap and water. Skip anything that leaves residue.
- Dry completely: Moisture under the decal invites problems.
- Align before committing: Check orientation against the hoop and badge position.
- Work from the center outward: Use a squeegee to push out air and water.
- Let it sit: Give the adhesive time to fully bond before performance use.
For schools coordinating a full branded ensemble look, this custom choir robes guide is a useful parallel because it shows the same larger truth: logos look consistent only when the organization treats artwork, approvals, and production details as one system.
Pitfalls that hit first-time school orders
Don’t let a JPEG from an old flyer become the master file.
A few mistakes keep repeating:
- Raster mascot art only: It may look fine on a laptop and fail at full size.
- No backup plan: A single show head or single decal can leave the program exposed during parade season.
- Late approval chain: Directors, boosters, and school communications offices often move at different speeds.
- Ignoring finish differences: A proofed logo can still look different if the final surface behaves differently than expected.
Bringing Your Program’s Look Together
The right answer depends on how often the program changes the look and how hard the drum gets used.
If the school updates mascots, sponsors, or seasonal graphics often, a removable decal on a reusable head is the sensible low-commitment route. It keeps costs manageable and lets the program refresh the front without replacing the whole head every time.
If the bass drum is part of the visual centerpiece and the program expects rain, heat, buses, and repeat setup, a printed head is usually the cleaner long-term answer. It handles planned artwork, port placement, and presentation better when the goal is consistency instead of flexibility.
What matters most before anything gets printed
The production method matters. The prep matters more.
A real vector file, official approved colors, and a measured port location will decide how professional the final result looks. That’s true whether the school chooses a decal or a printed head. Programs thinking beyond the drum alone can also look at broader ensemble branding references like performing arts uniform design 80 to keep the drum graphic aligned with the rest of the visual package.
The next move is practical. Pull last year’s head. Measure the drum. Confirm whether the logo needs approval. Then send the correct art before anyone asks for a proof.
Custom Bass Drum Head prints custom bass drum heads directly from uploaded logos, mascot artwork, and school graphics, with options for front heads, precise sizing, and planned mic-port placement. For school programs deciding between a decal look and a full printed solution, Custom Bass Drum Head gives buyers a clear way to upload artwork, review the design, and order a head that matches the drum instead of guessing from a mockup.